Prusa CORE One L+ review: More precise
How do you make a really good printer even better? How about a $25 upgrade kit? Recently, Prusa Research rolled out a series of upgrades to the big three: the CORE One, CORE One L, and the XL 3D printers. Since the CORE One L is the newest printer of the batch, it only needed a tweak rather than a full overhaul to earn a “+” designation. No one was surprised by this update, as Josef Prusa has a reputation for upgrading his machines rather than letting them fall by the wayside. In fact, the CORE One L is only the third major variation of Prusa-designed printers since the company was founded in 2012.
As we were wrapping up this review, Prusa Research announced the CORE One L+ is now compatible with the Prusa INDX conversion kit, which is $799 for four tools, or $1,079 for eight. We’re currently reviewing the INDX on a standard-size CORE One + (Gen 2), and spoiler alert: it’s running spectacularly.
The Prusa CORE One L never left my workshop since its introduction nearly a year ago. In over 1000 hours of hard use, it’s been quietly printing abrasives like carbon and glass fiber, and even a pinch of Prusa Ultra Glow, with no problems. It’s been a real workhorse for practical prints.
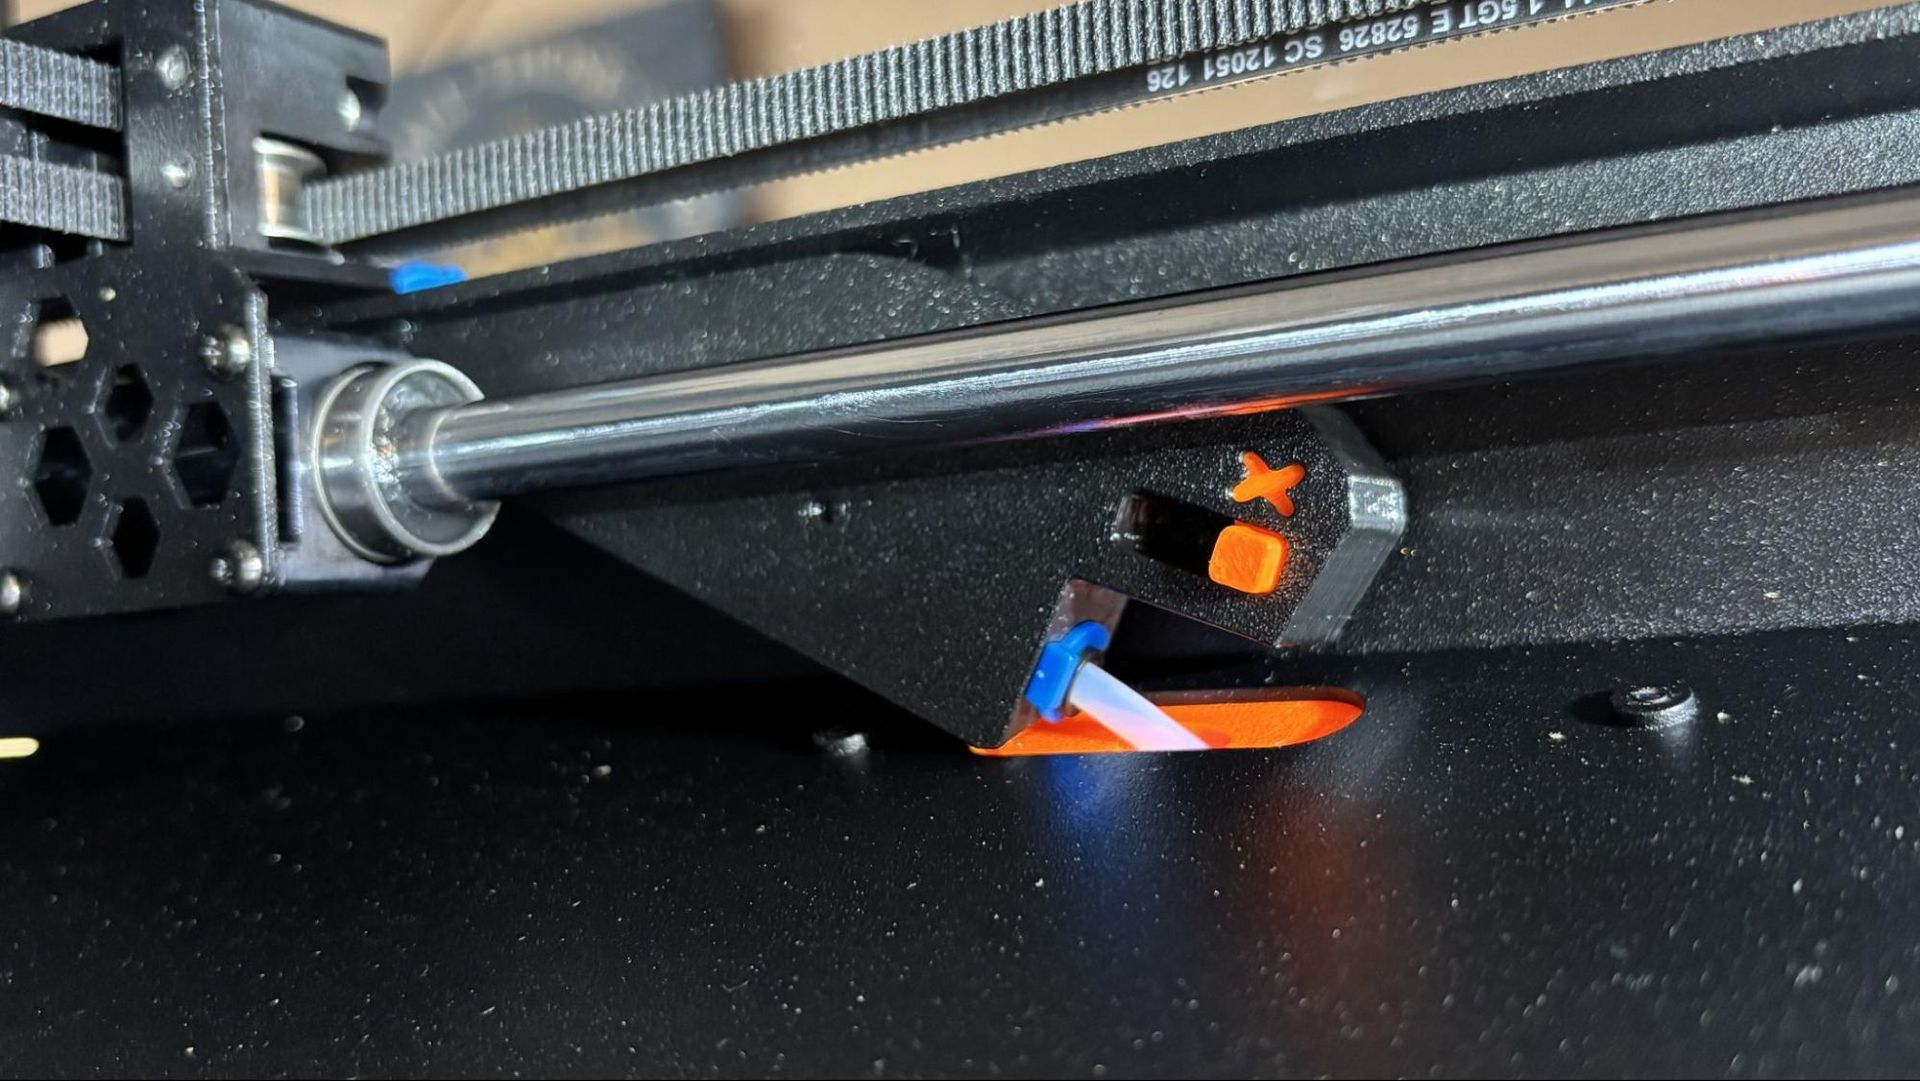
The “plus” upgrade removes a super annoying flaw that has spoiled an otherwise perfect machine: nozzle wiping failures. Before this upgrade, all Prusa machines would clean the nozzle before bed leveling by tapping the bed, leaving little dots of filament on the plate. When you’re running higher-temp filaments, oozing is a real problem and nozzle wiping fails are more frequent. The error itself isn’t a big deal, and I would often choose to ignore it as I still get excellent prints. The problem is the time I’d lose if I wasn’t watching the printer like a hawk, as the printer would shut down bed heating while it waits for you to come tend to it.
We’ve had nozzle wipers on other brands of 3D printers for years now, and it’s a relief that Prusa has finally gotten on board. With a simple addition of a silicone brush, the CORE One L+ is now one of the few printers I trust to set it and forget it.
The Prusa CORE One L+ upgrade also came with a set of GT1.5 timing belts. The tighter tooth spacing on the belts and drive gears makes an already precise system more precise, resulting in smoother surfaces.
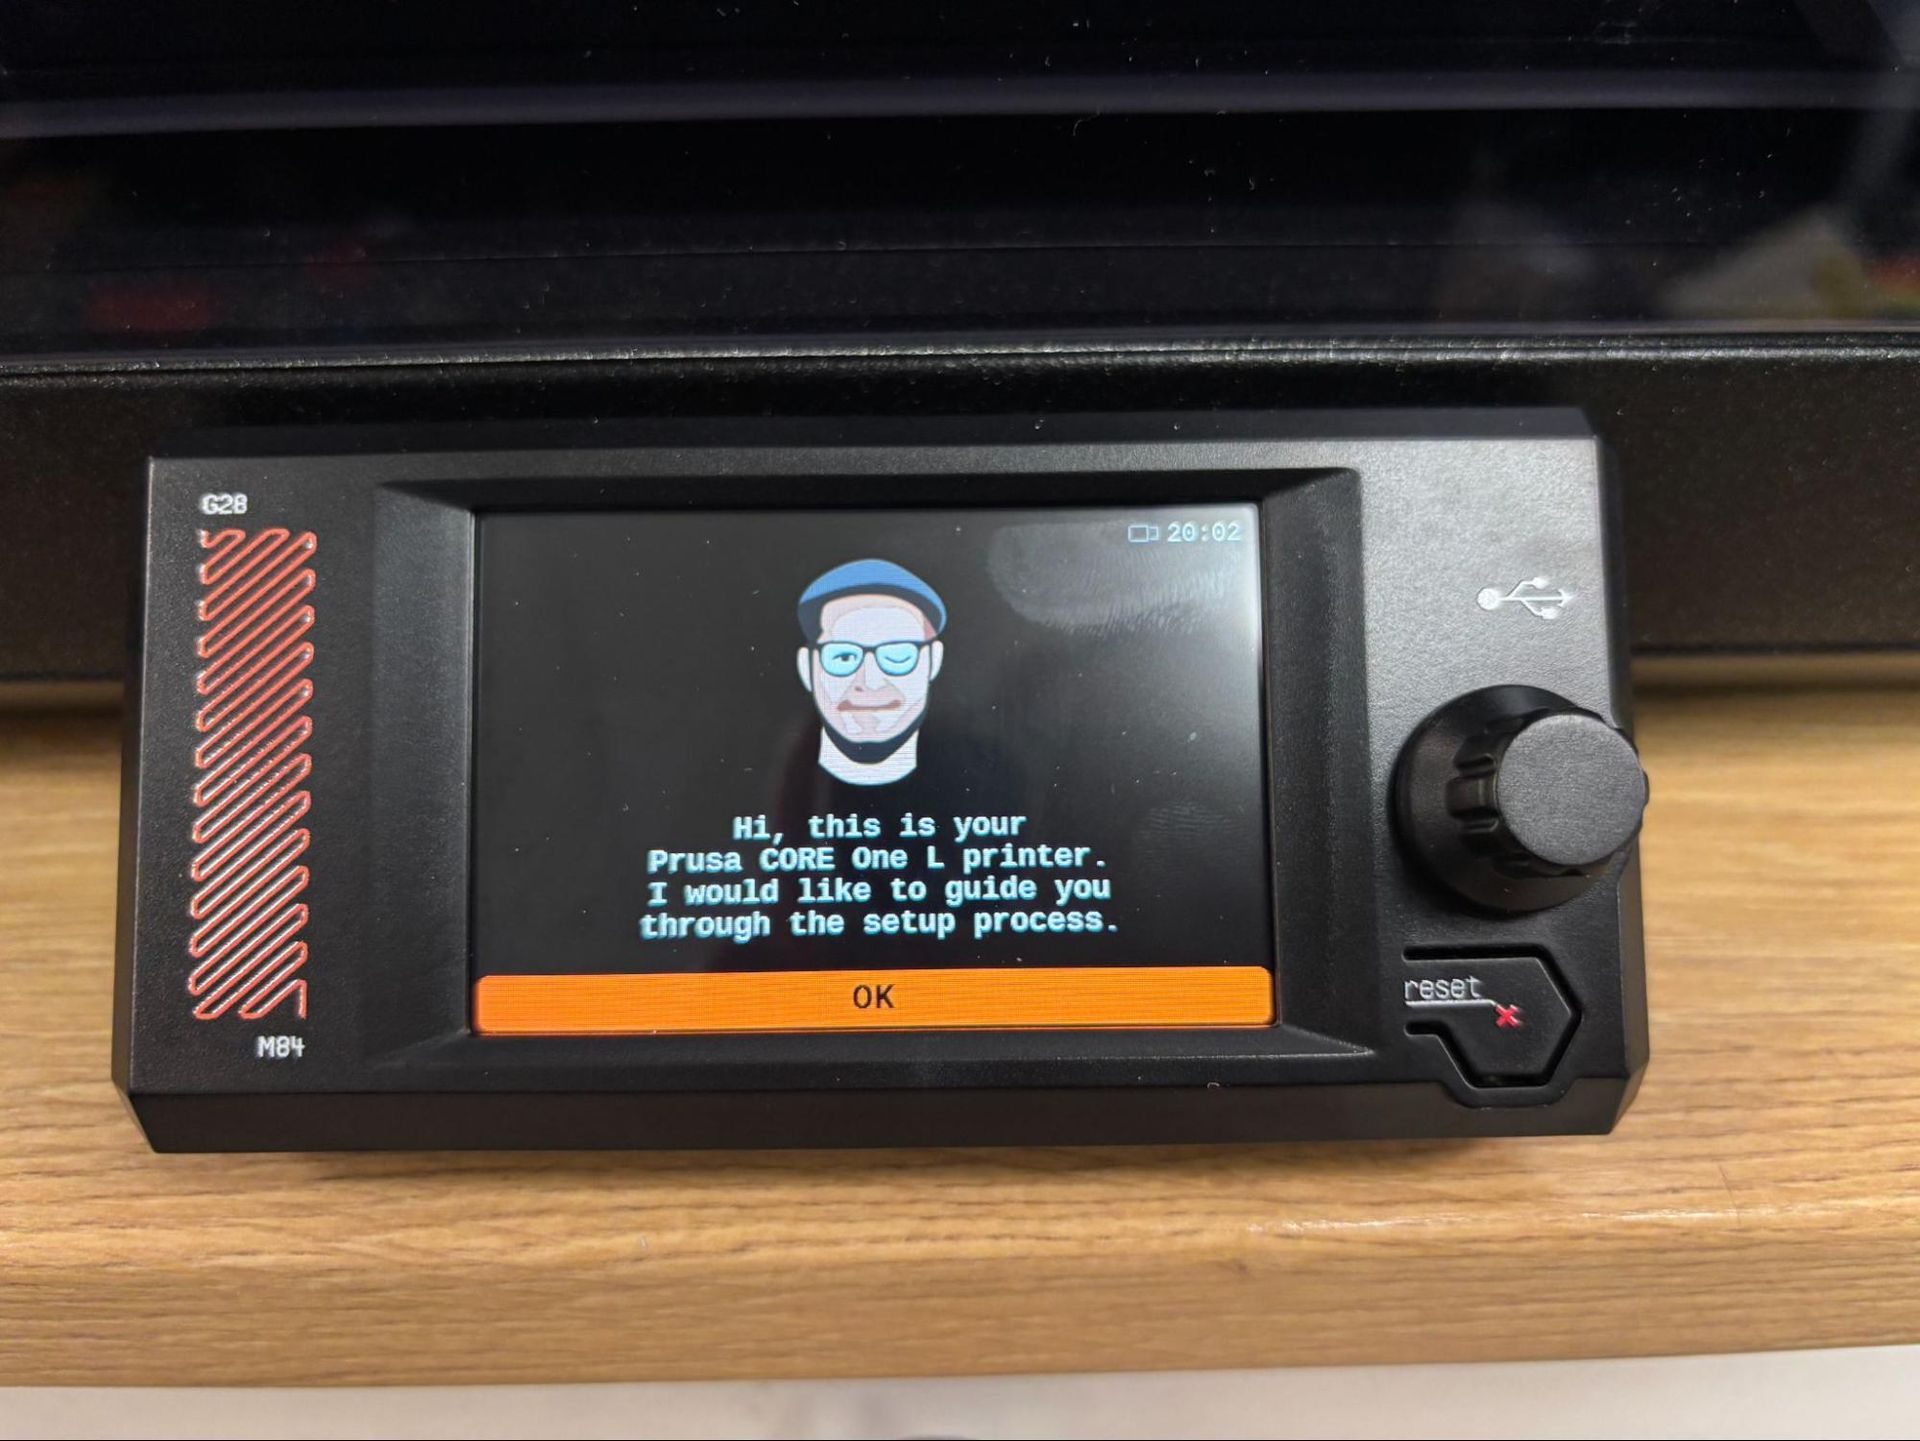
Another update is that this 3D printer is finished at the factory. When firing up the Prusa CORE One L+ for the first time, you’ll notice one thing right off the bat. A winking Josef Prusa pops up to help you set up your printer (as usual), but now there isn’t much set up to do. All the calibration has been done at the factory, and you get your first print going in about five minutes after ripping into the box. You can eat your complimentary package of Gold Bears while watching the first layer go down.
One thing that Prusa Research did not change is the 290 °C hot end limit. Most printers in this class can go 300 °C, with the Bambu H2S good to 350 °C and the Qidi XPlus 5 capable of 370 °C. Prusa offers an HT hotend upgrade that hits 400 °C and is listed at $199, but it’s currently out of stock. 400 °C is hot enough for PEKK and more than enough for PPS CF. But I’d like to see the CORE One L+ do at least 300°C from the get go.
This is one of the few printers that can be operated entirely offline, making it the 3D printer of choice for businesses and government entities who need to keep data extra secure. Yet the machine itself is mostly online and open source, to make sure users can freely repair and mod their own devices.
Plus, the CORE One L+ has an optional Advanced Filtration Module with HEPA and Active Carbon filters to make sure whatever fumes your filament produces stays out of your home or office. That same vent can also be attached to an HVAC system.
For these reasons, we’re happy to put the Prusa CORE One L+ on the list of best 3D printers we’ve tested as the best Cloud Free/Open Source 3D Printer we’ve seen so far. The CORE One L+ is retailing at $1,999, the same price as before the upgrade. It’s only being offered as a fully built machine, no kits this time.
Specifications
|
Prusa CORE One L+ |
Prusa CORE One L |
Prusa CORE One |
|
|
Build Volume |
300 x 300 x 330 mm (11.81 x 11.81 x 12.99 in) |
300 x 300 x 330 mm (11.8 x 11.8 x 12.99 in) |
250 x 210 x 270 mm (9.84 x 8.3 x 10.6 in) |
|
Material |
PLA/PETG/Flex/PVA,ABS/ASA/PA/PC (up to 290C degrees) |
PLA/PETG/TPU/ABS/ASA /PC (up to 290 degrees) |
PLA/PETG/TPU/ABS/ASA /PC (up to 300 degrees) |
|
Extruder Type |
Direct drive |
Direct drive |
Direct drive |
|
Nozzle |
.4mm (Brass CHT Installed, Abrasive Resistant Included) |
.4mm (Highflow CHT & Hardened Steel) |
.4mm (Highflow CHT) |
|
Build Platform |
Double-sided PEI flex plate |
PEI spring steel flex plate |
PEI spring steel flex plate |
|
Bed Leveling |
Automatic, Loadcell |
Fully automatic |
Automatic |
|
Filament Runout Sensor |
Yes |
Yes |
Yes |
|
Connectivity |
LAN, WiFi, USB Flash Drive |
USB, LAN, Wi-Fi, App |
USB, LAN, Wi-Fi, App |
|
Interface |
Color touch screen |
3.5-inch color screen touch screen with additional knob |
Color touch screen with knob |
|
Machine Footprint |
469 x 521x 635 mm (18.5 × 20.5 × 25 in) |
469×521×635 mm (18.5×20.5×25 in) |
415 x 444 x 555 mm (16.3 x 17.5 x 21.8 in) |
|
Machine Weight |
21.9 KG (48.21 lbs) |
21.9 KG (48.28 lbs) |
22.5 KG (49.6 lbs) |
|
MSRP |
Starts at $1,999 |
$1,999 |
$1,199 |
|
Release Date |
August 2026 |
November 19, 2025 |
November 19, 2024 |
Prusa CORE One L+: Included in the Box
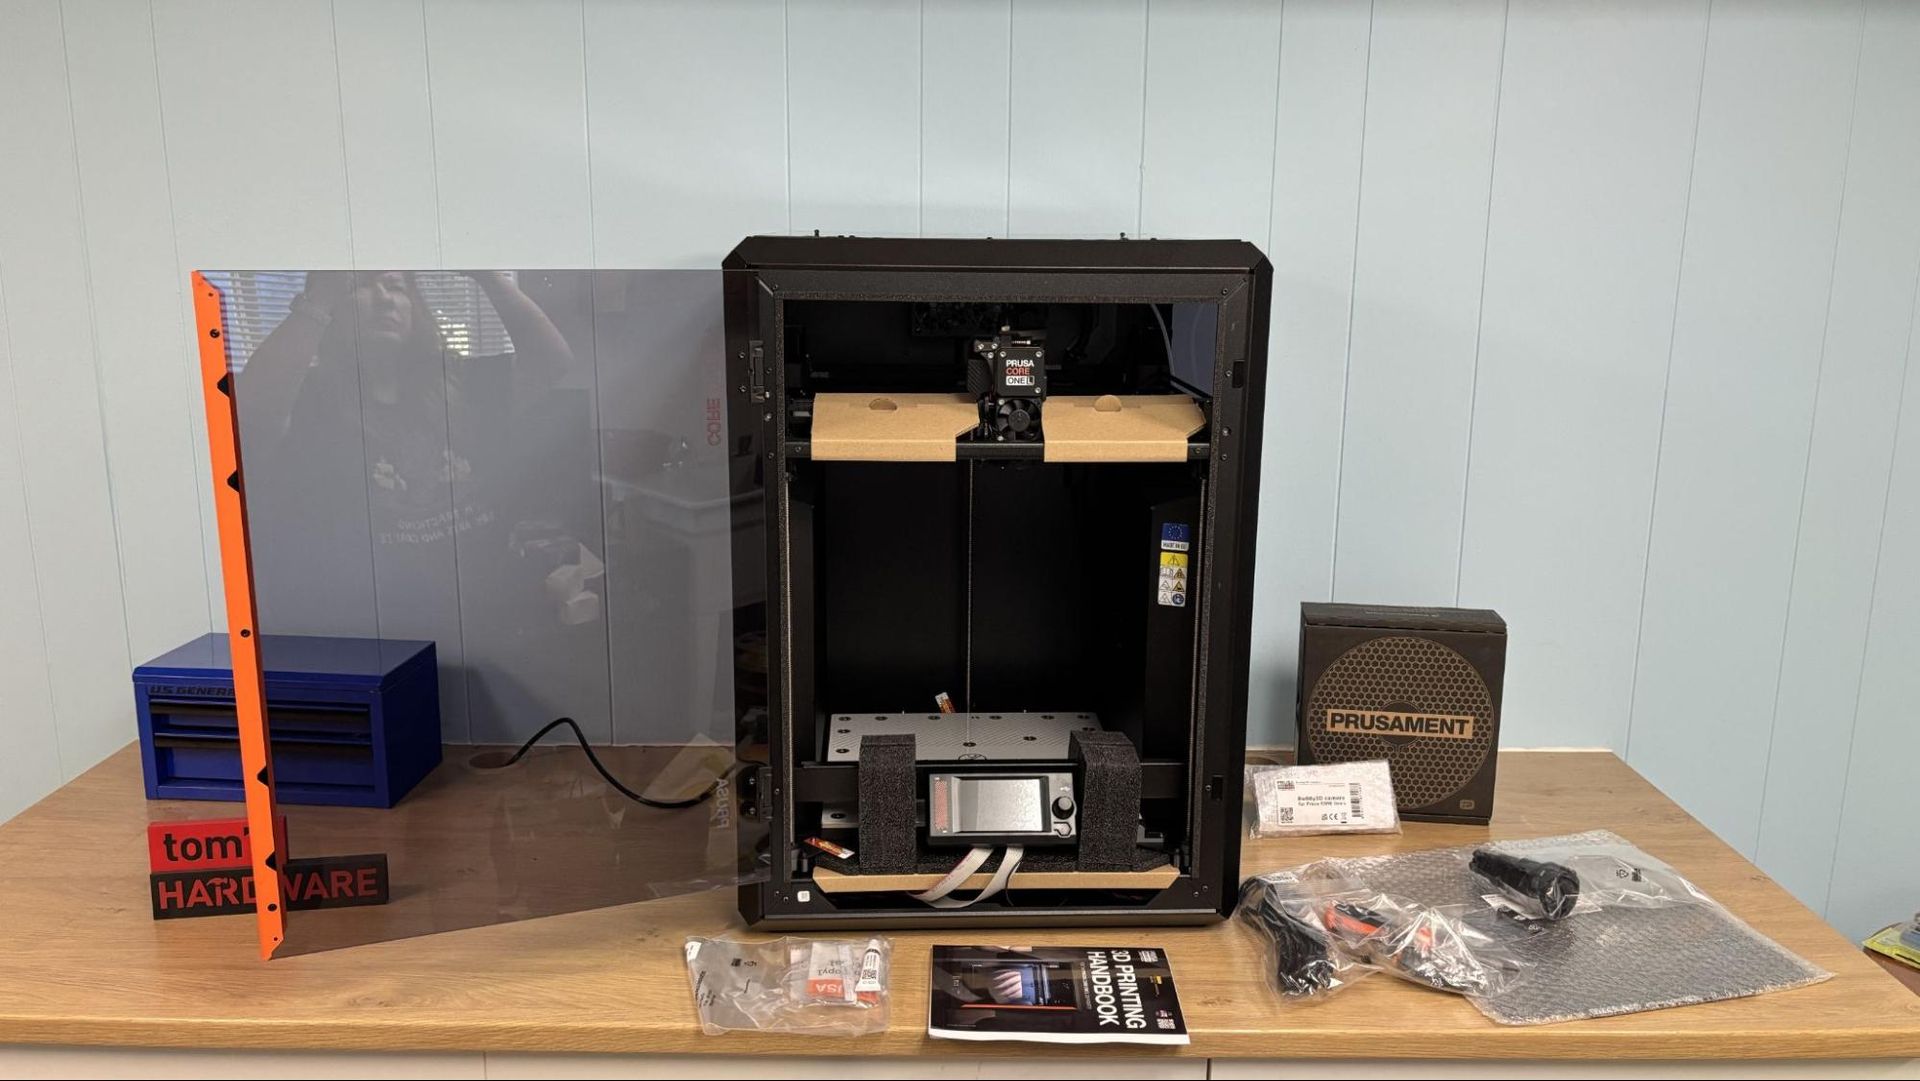
The Prusa CORE One L+ is 99% assembled at the factory. Also included are a bag of Haribo Goldbears, a toolkit, a USB stick, country specific power cord, a PEI flex plate, a spool holder, and a full spool of Galaxy Black Prusament PLA.
Design of the Prusa CORE One L+
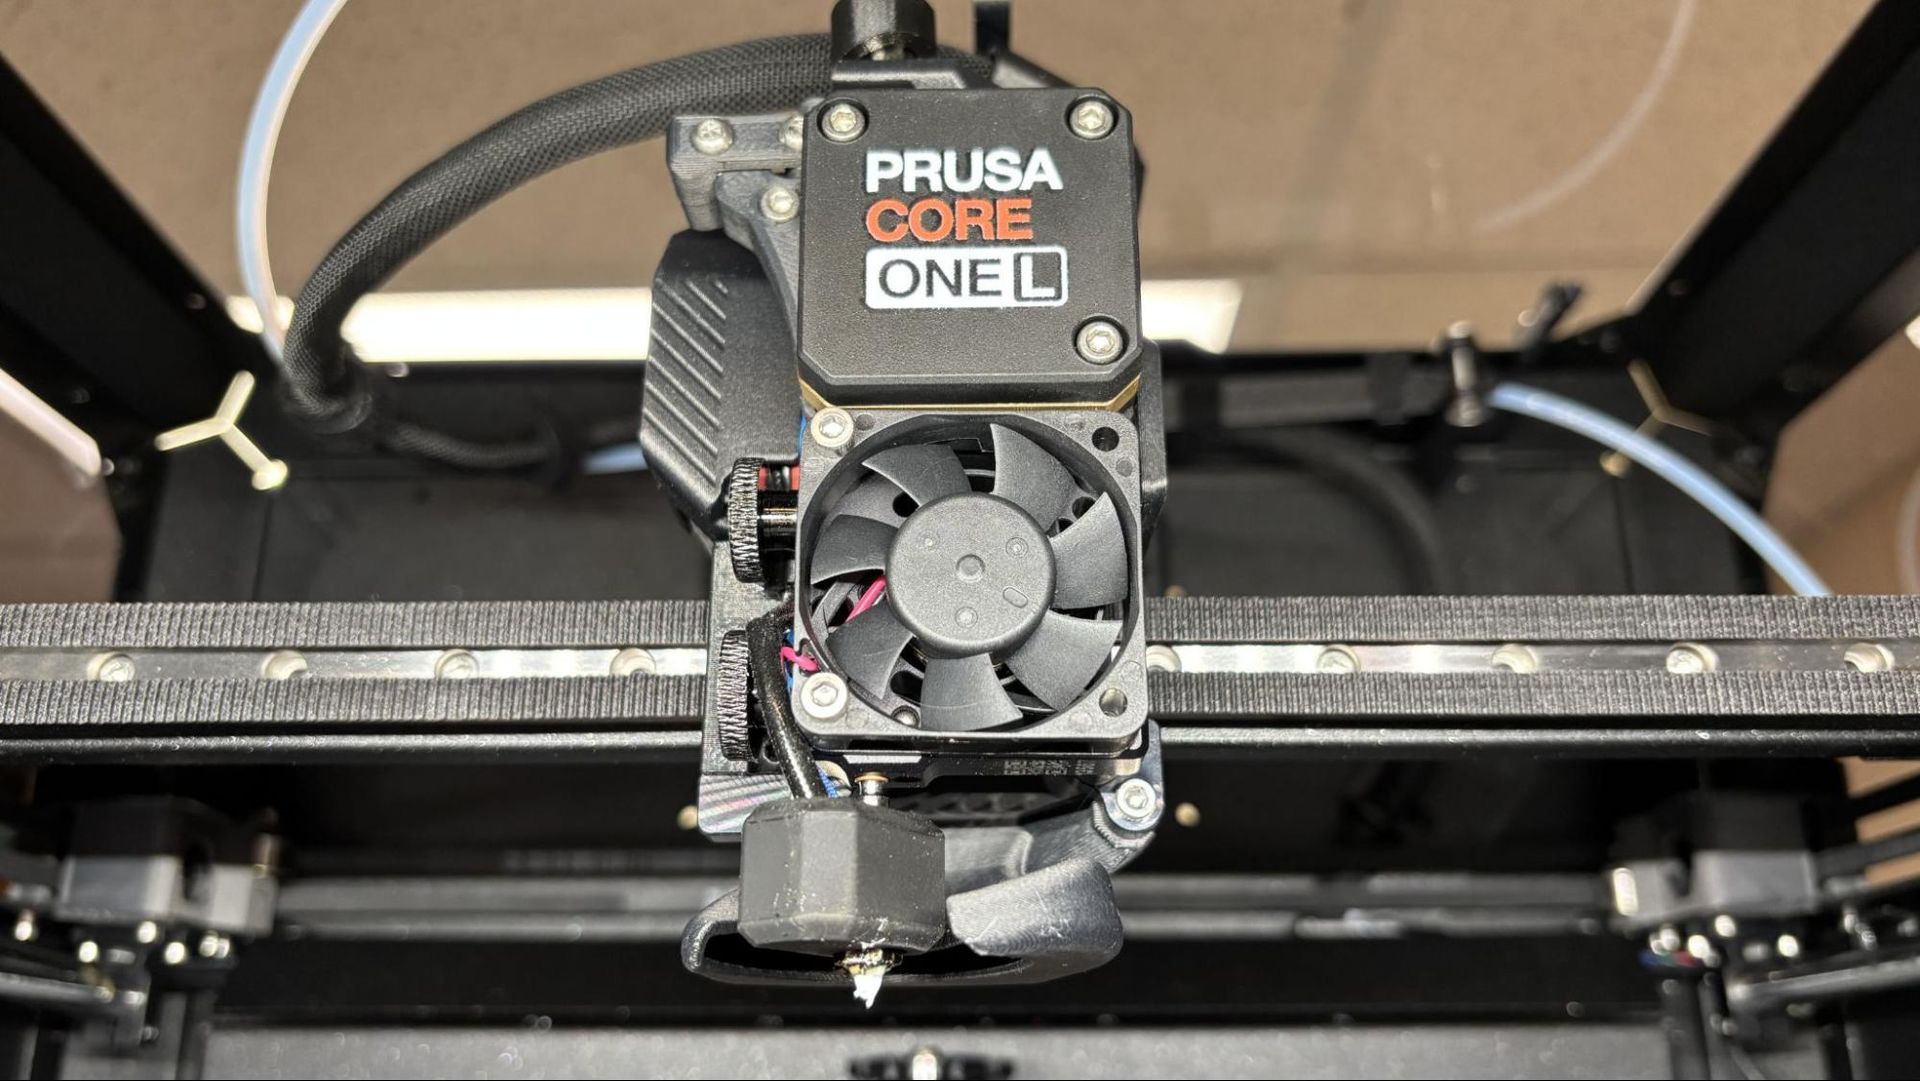
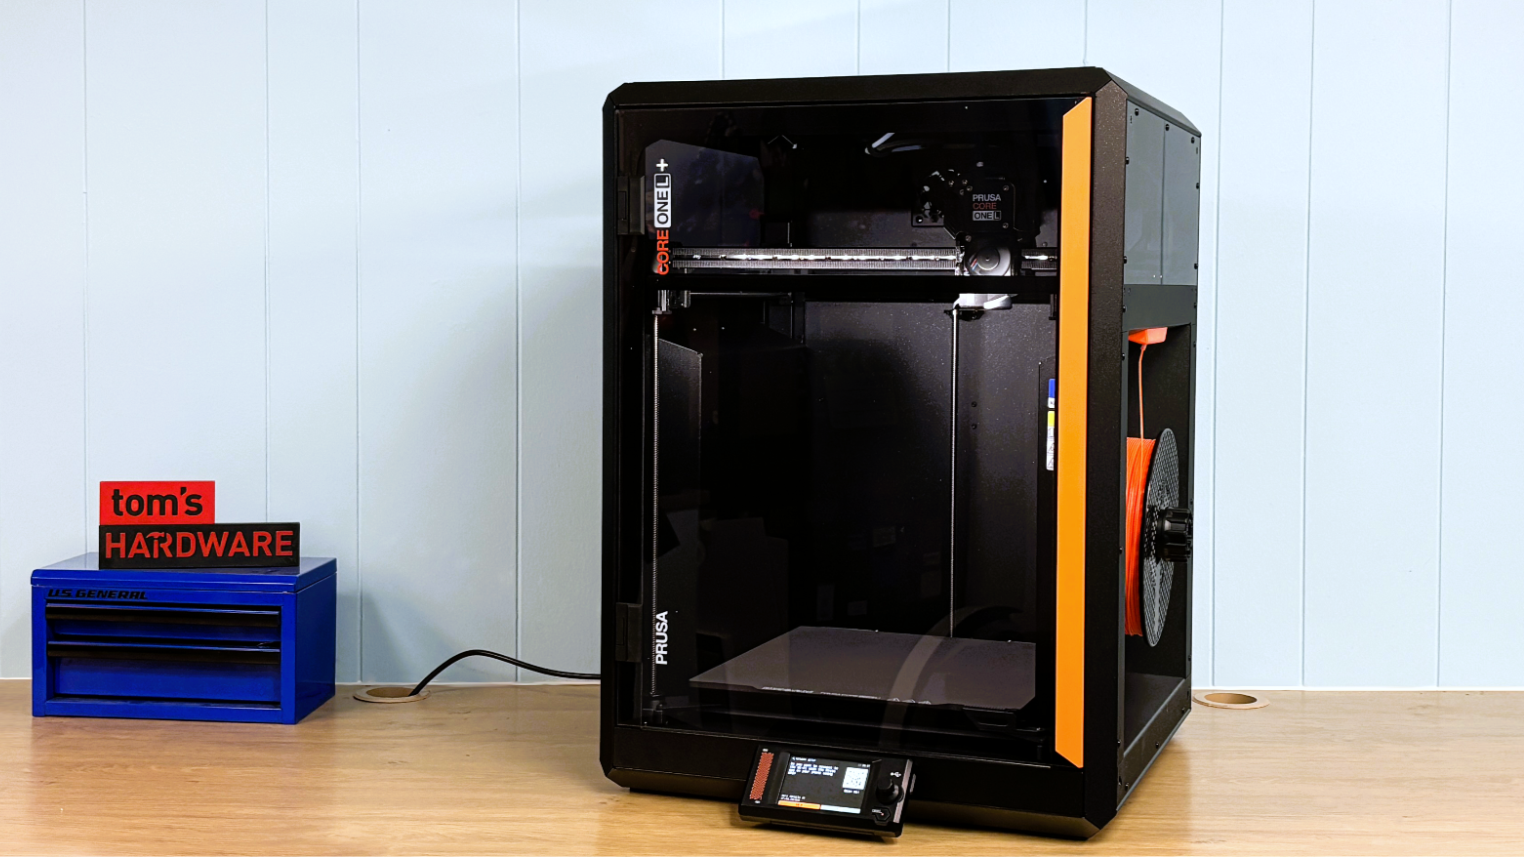
The CORE One L+ is a tank of a machine, weighing almost 50 lbs and built with a rigid metal frame, metal side panels, a plexiglass door, and top and side windows. The side panels jut into the interior of the machine to both allow clean lines on the outside and to get rid of useless space on the interior that would need to be heated. The filament spool nests neatly inside the recessed panel.
With a build volume of 300 x 300 x 330 mm, the CORE One L+ has a lot of heat area. This is accomplished with a thick aluminum heatbed that runs on line current, switching automatically from 110V to 220V. The chamber is heated with two fans mounted under the bed to create a convection effect, blowing cold air over the bed. The toolhead is now driven by finer-toothed GT1.5 belts that run on a linear rail for the X-axis and two linear rods for the Y-axis. The bed is driven by three independent stepper motors with lead screws.
The toolhead has a planetary-geared Nextruder, which does a great job pushing plastic. A large cooling fan is on the front, and a large parts cooling blower on the back leads to a duct that wraps almost completely around the nozzle.
The CORE One L+ comes with a .4 brass CHT high flow nozzle installed, and a bonus hardened steel nozzle included. The first thing I did after a quick test print was to switch to the hardened nozzle. These nozzles are not exactly quick release, but are fairly easy to replace. The two thumb screws on the left side of the tool head release the nozzle, which then must be unscrewed from the heater block. Care must be taken since, once the nozzle is removed, the only thing holding the heater block is the wiring. I haven’t run into any issues yet, but I’m very careful with the wiring.
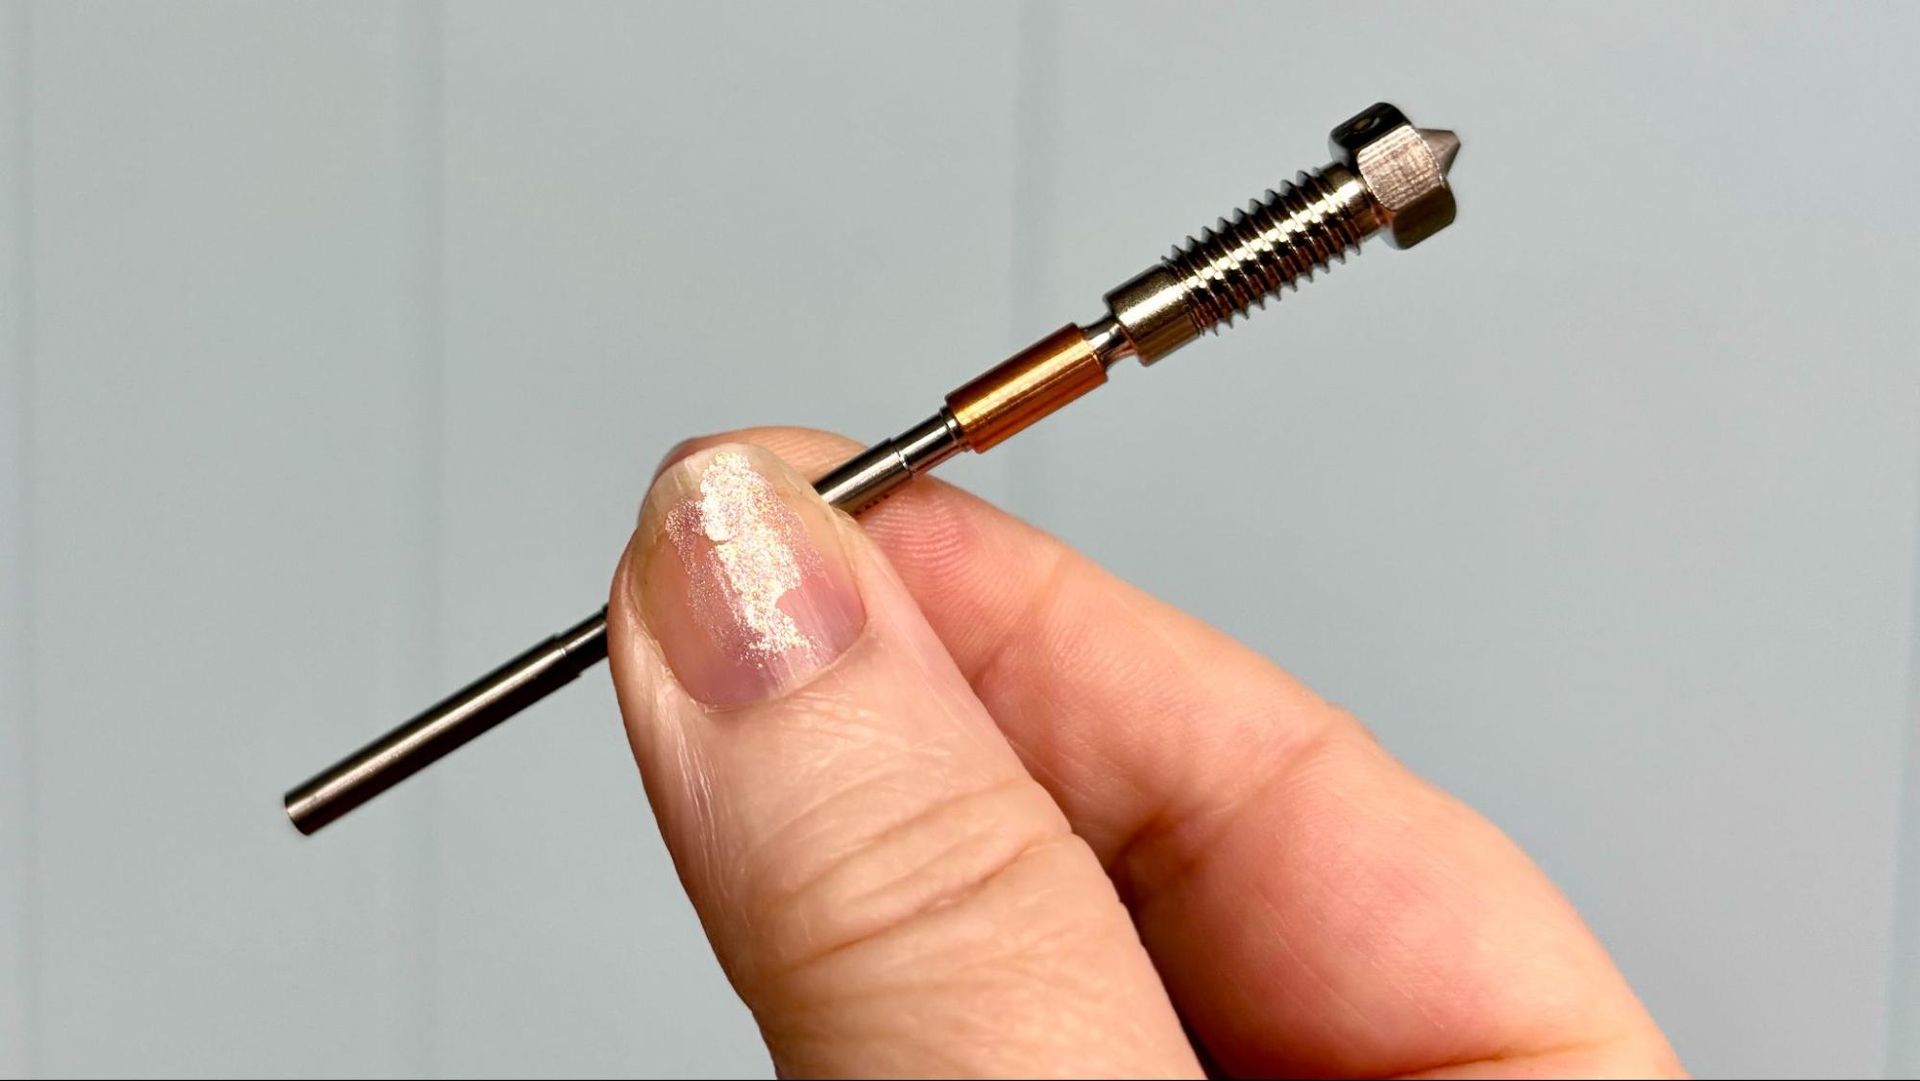
The hotend can reach a temperature of 290 °C, and as mentioned earlier, there’s an optional HT hotend that hits 400 °C if you really need the extra heat.
The door on the Prusa CORE One L+ has a switch, which can be disabled, to safely stop the printer if it is opened while running. I really love that the door can be mounted on the opposite side of the machine, in case that works better for your setup.
The top vent on the printer is opened and closed automatically as needed. There are two fans on the back of the case to help ventilate the chamber. This is quite enough to run lower-temp filaments like PLA with the door shut. There is an optional HEPA filter that mounts over the rear case fans.
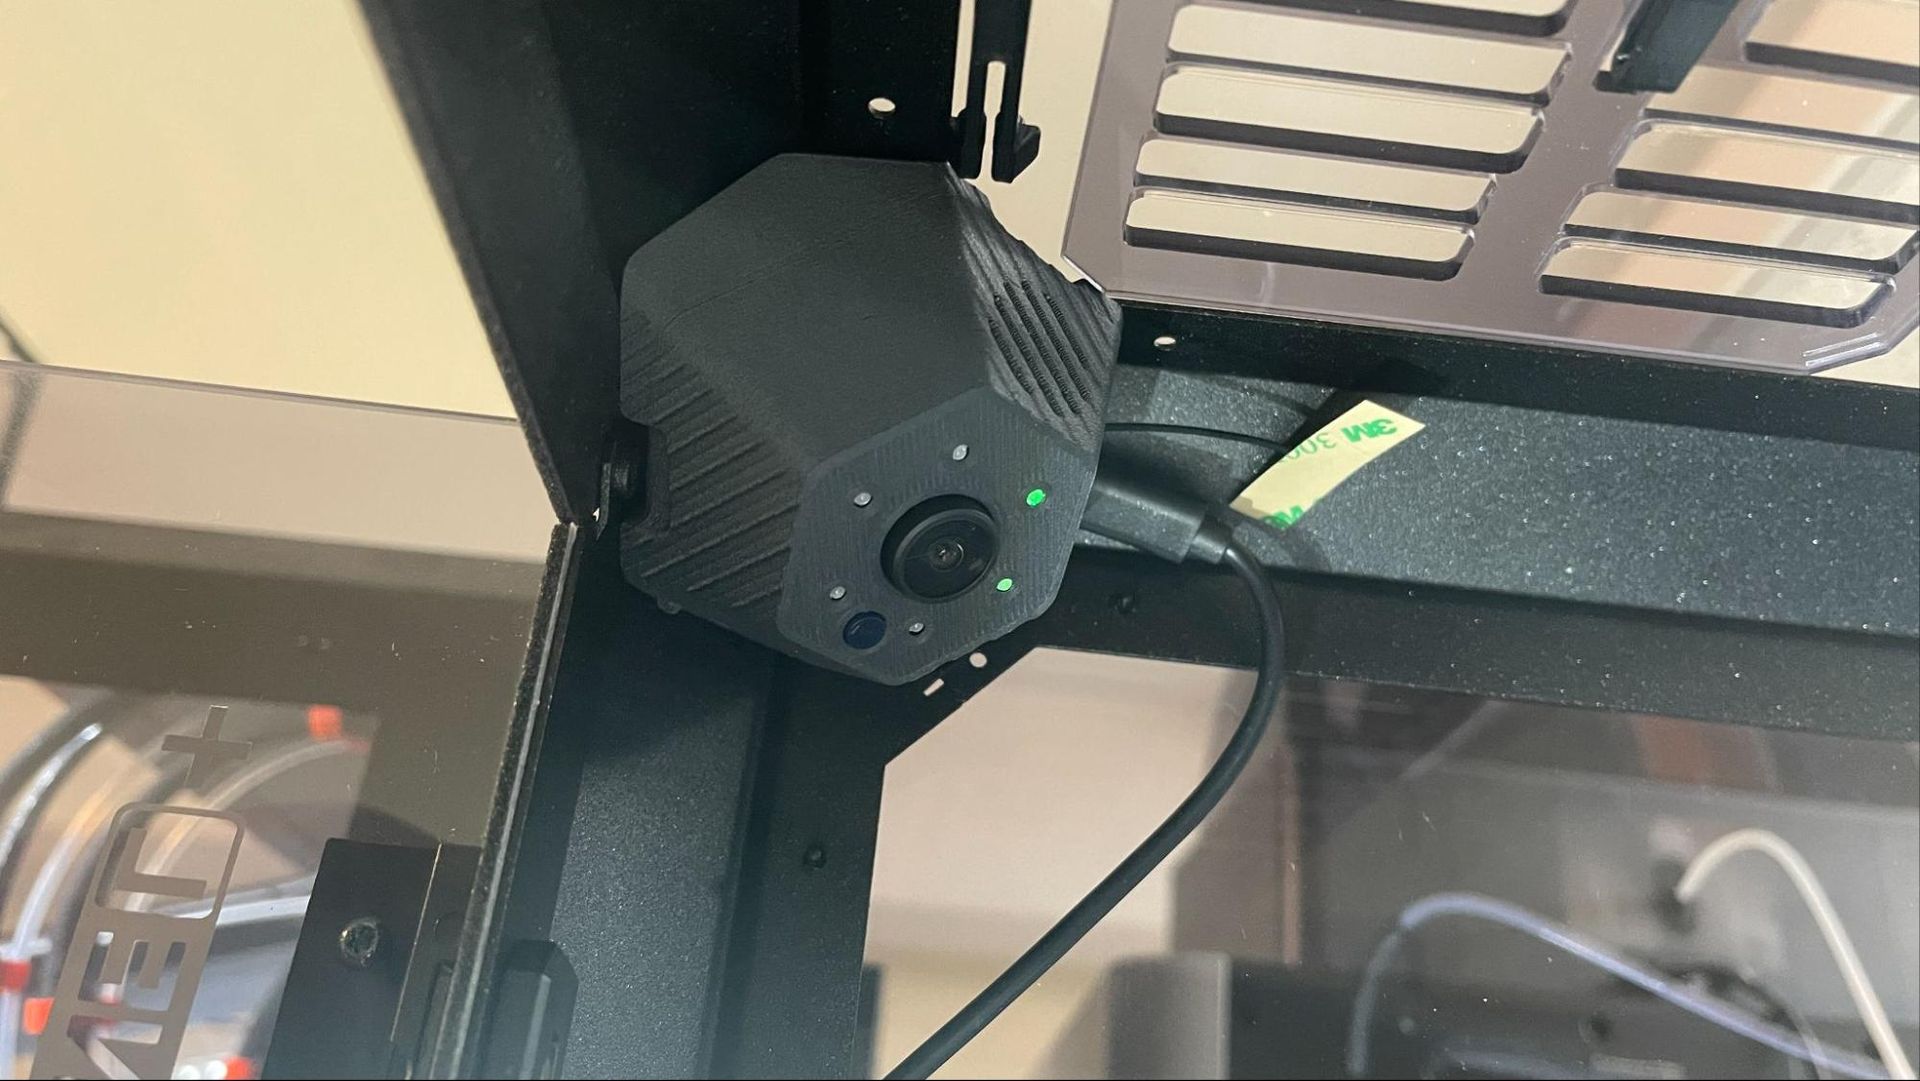
The Buddy3D camera provides excellent video for monitoring your prints from Prusa Connect and the Prusa App. The one thing it can’t do is send a timelapse video to your computer. To record a timelapse video, you must add an SD card to the camera.
Assembling the Prusa CORE One L+
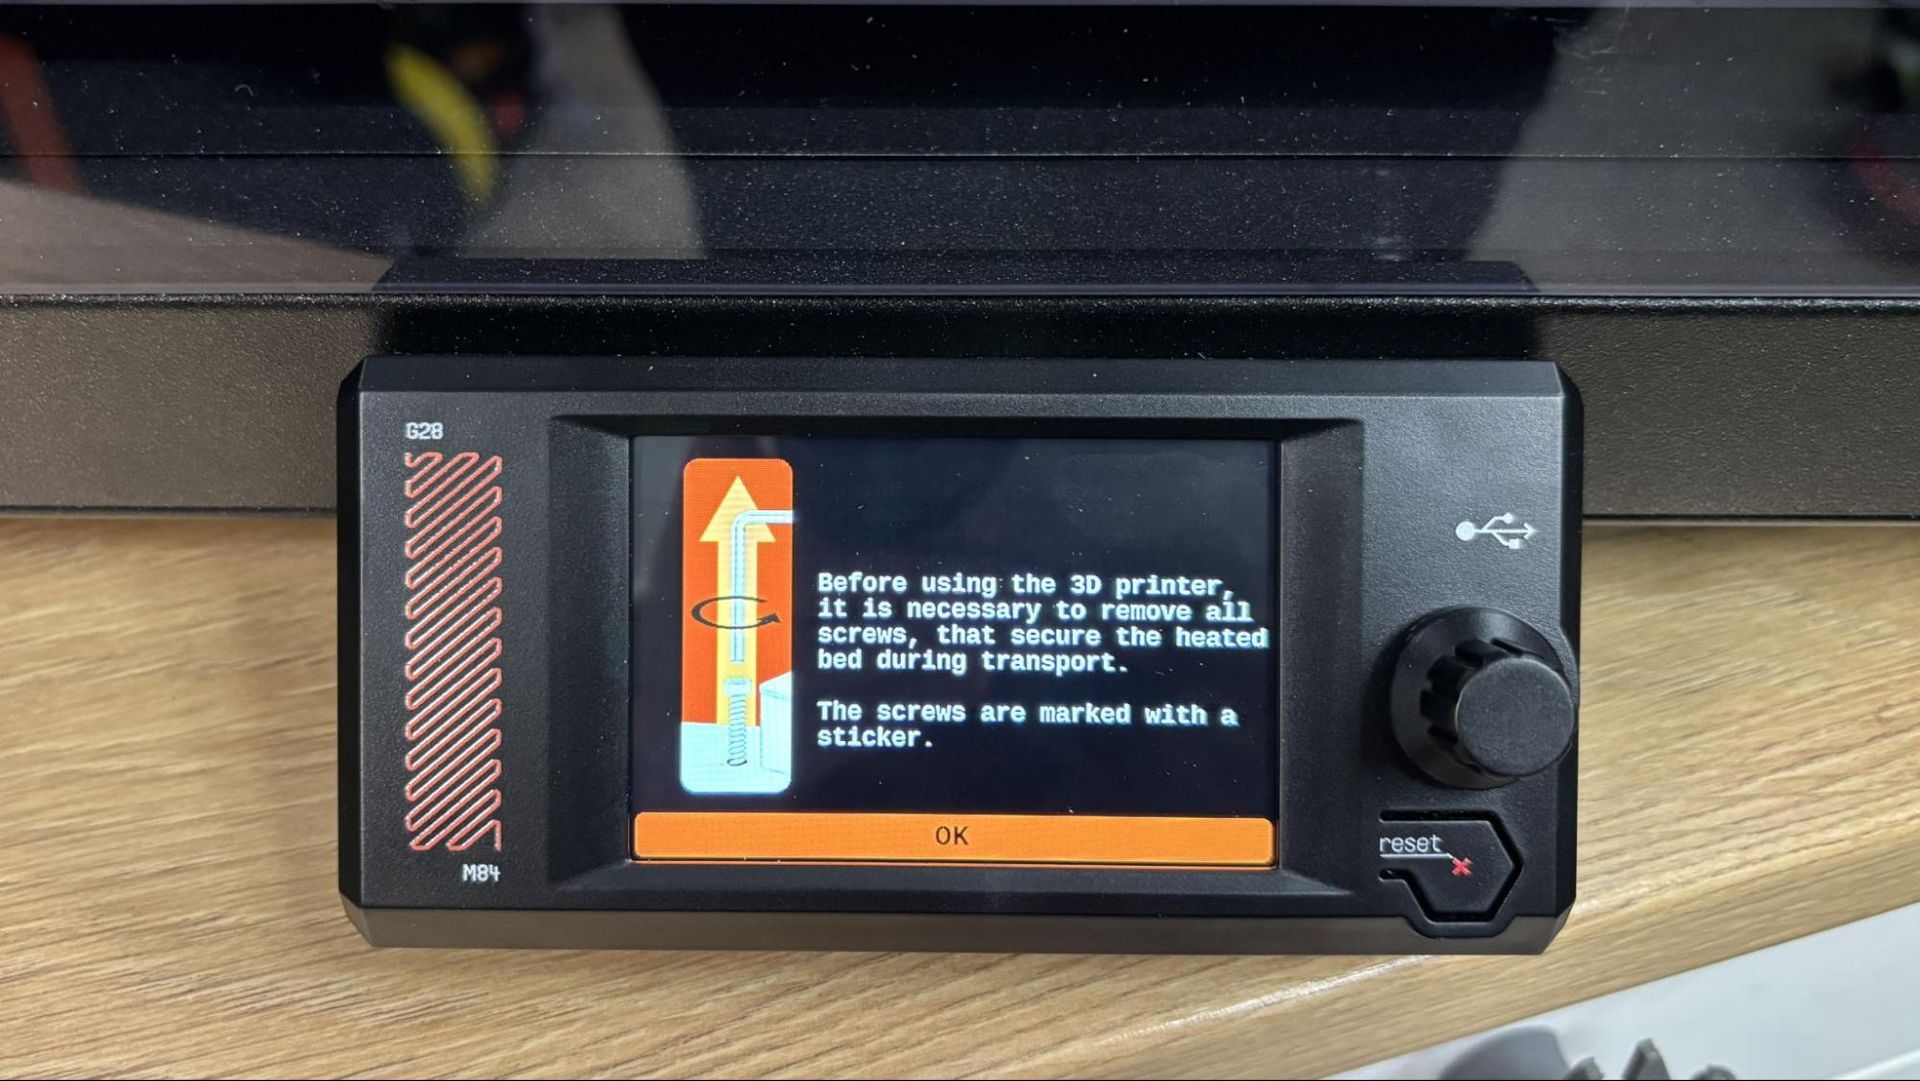
The Prusa CORE One L+ arrives mostly assembled. After removing three screws holding down the bed, you can put the tool kit away. The screen and trim panel slot into the front of the printer and are held in place with magnets. The wiring for the buddy cam is preinstalled, and the camera mounts to the printer’s inner wall with magnets. The spool holder attaches to its base with a quarter turn. The toolhead is freed by removing the cardboard holding it in place. Within just a minute or two, you are ready to print.
Leveling the Prusa CORE One L+
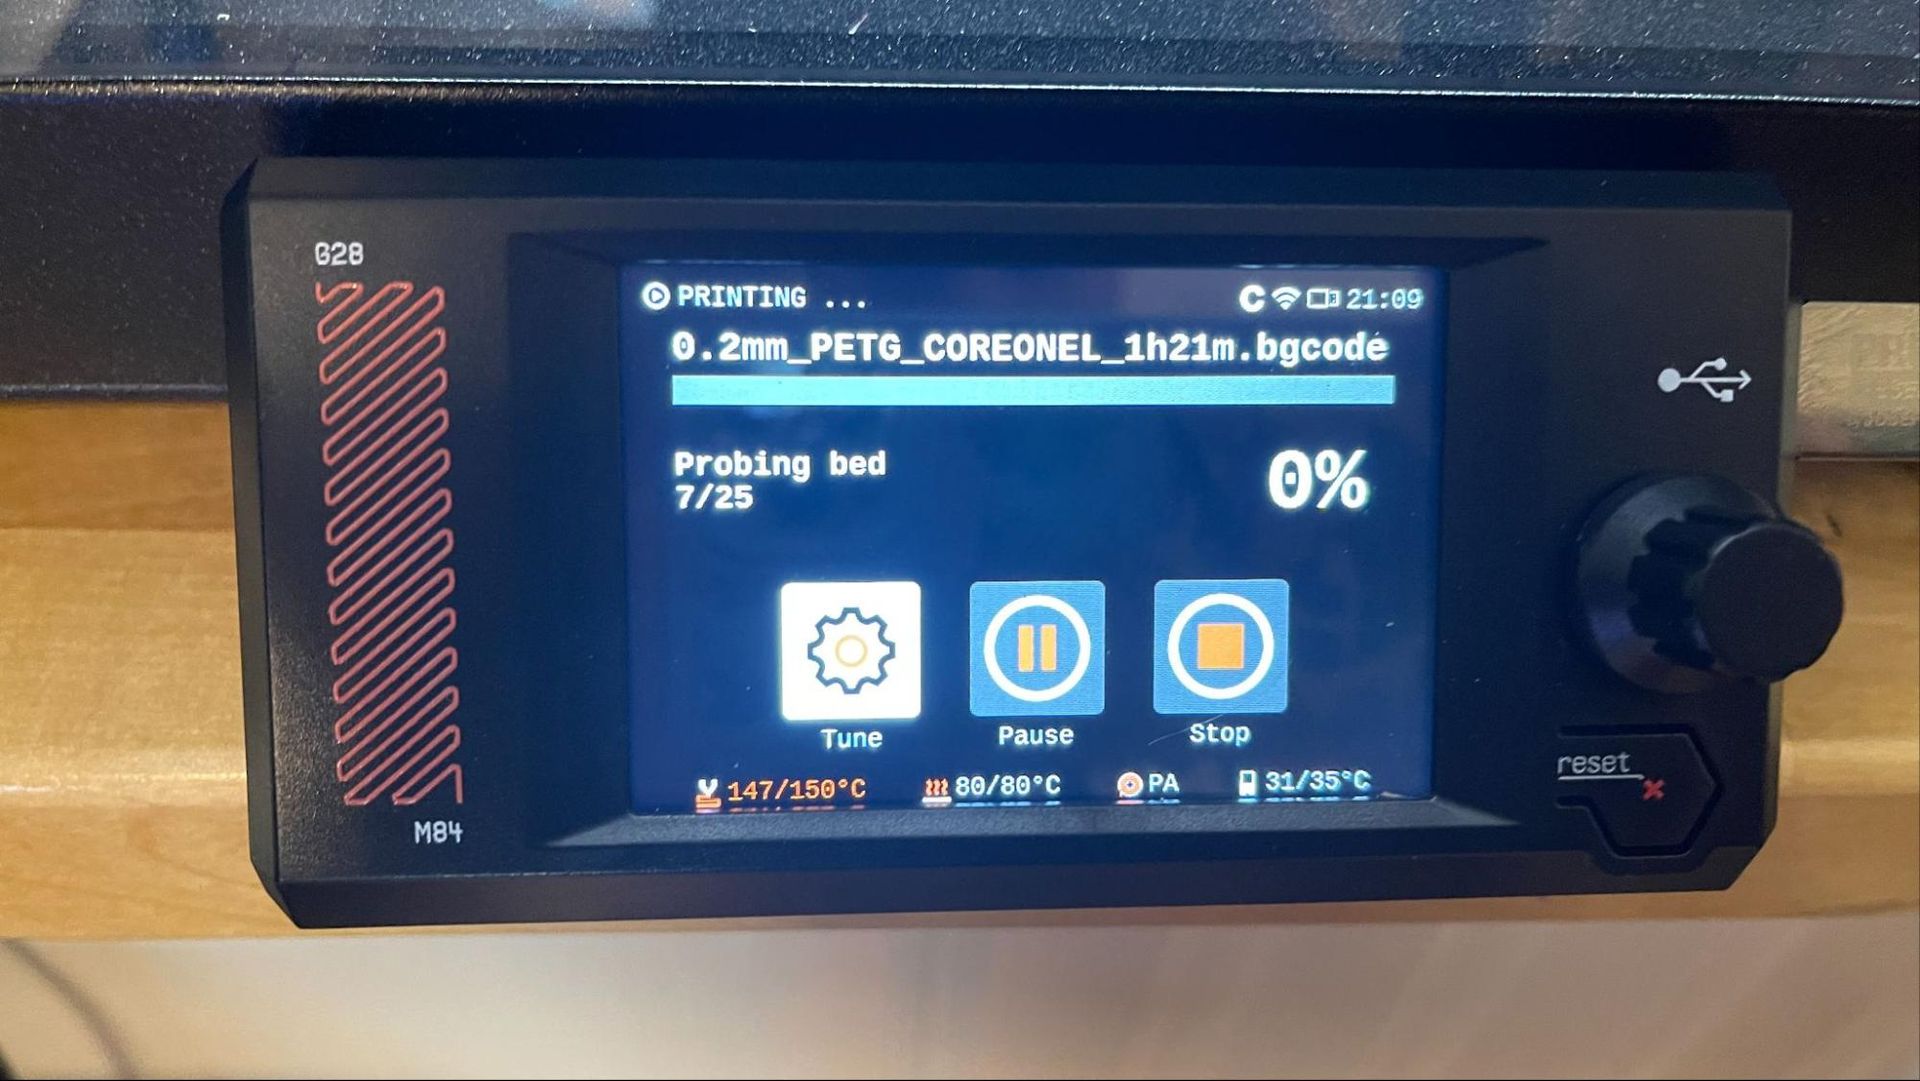
The Prusa CORE One L+ is calibrated at the factory. So there is no need to run through the usual 30 minutes of calibrating and leveling when powered on. The printer does check the level before each print.
Loading Filament on the Prusa CORE One L+
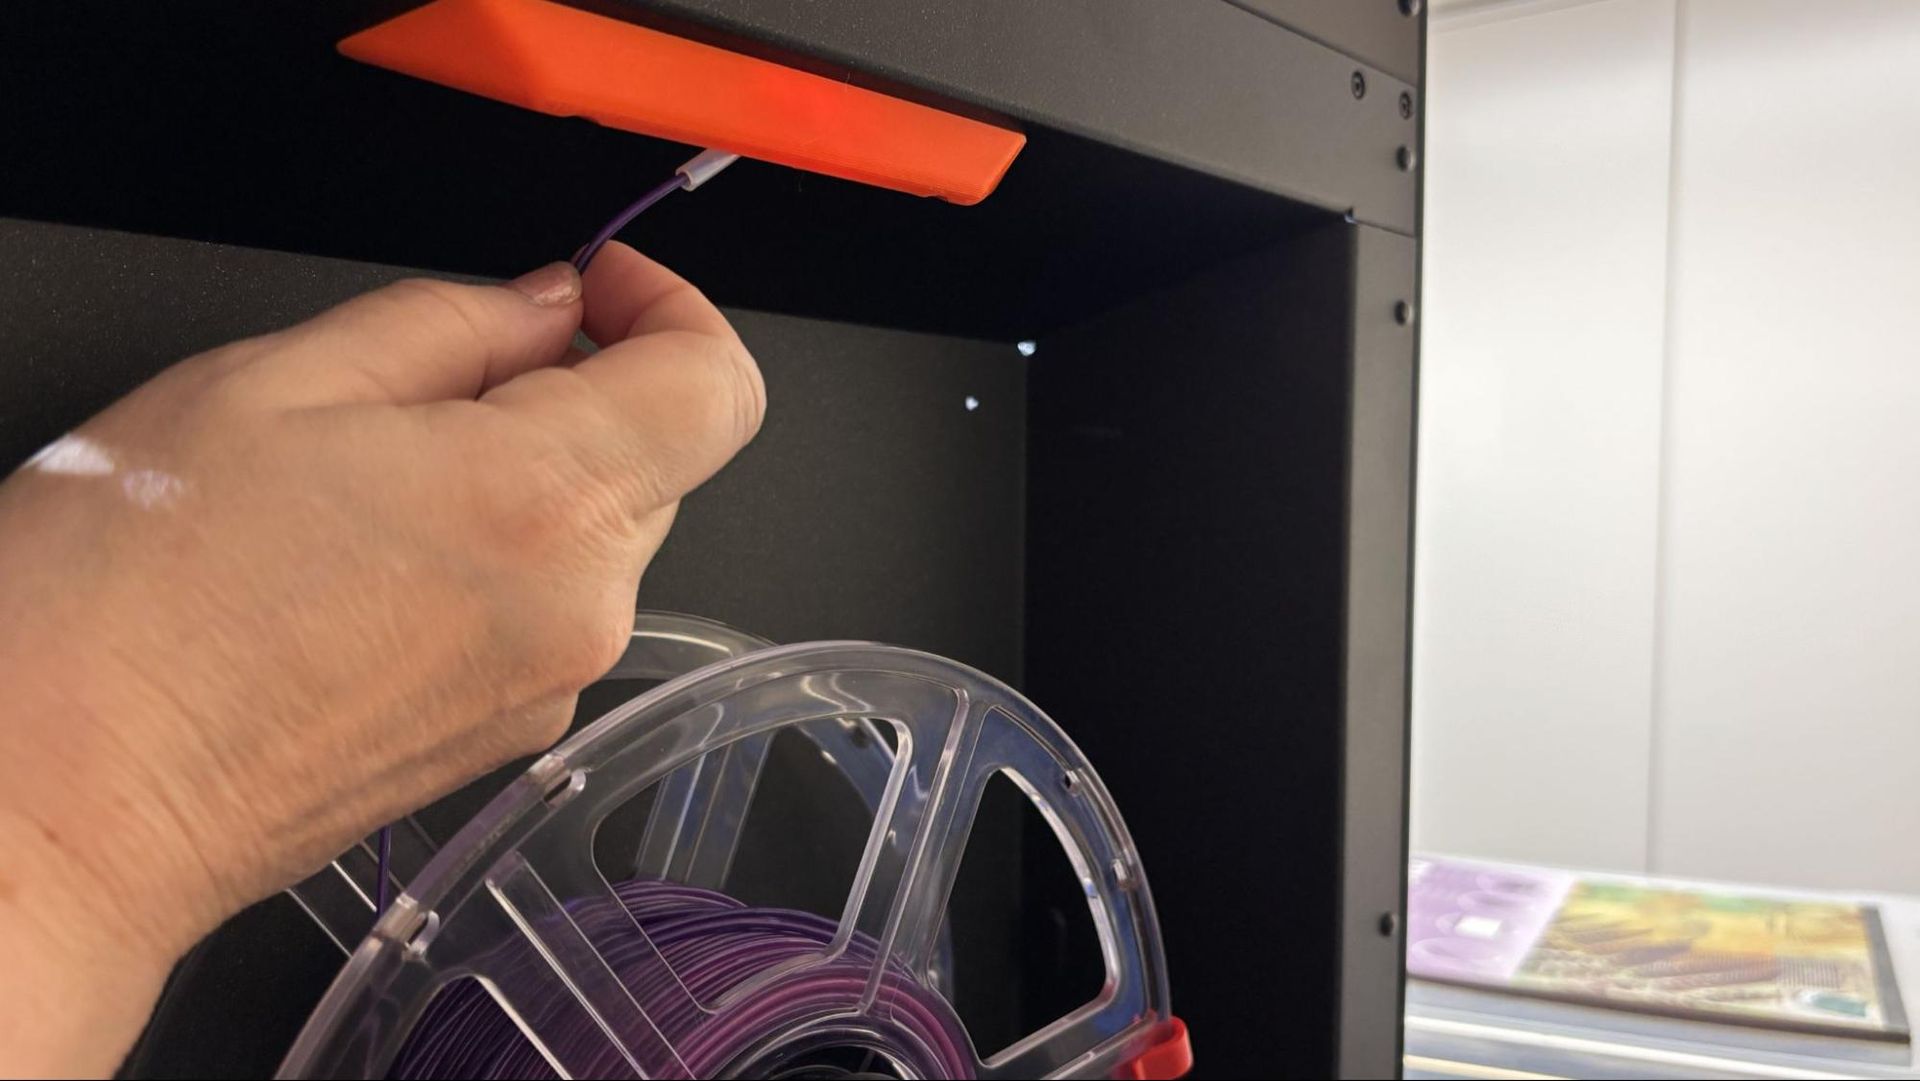
Loading filament on the Prusa CORE One L+ is simple. Filament is pushed past the runout sensor and into the toolhead, where it is grabbed automatically by the extruder. The printer then asks what kind of filament you are loading and heats the nozzle to the appropriate temperature.
Loading TPU is the same, but there is a switch to disengage the filament runout sensor. This really helps loading noodly TPU. I tried TPU from several companies, and 95A TPU loaded just fine. For softer TPU, I couldn’t push it past the 90 degree bend in the Bowden tube at the toolhead. I needed to remove the Bowden tube and load the filament directly.
Preparing Files / Software for Prusa CORE One L+
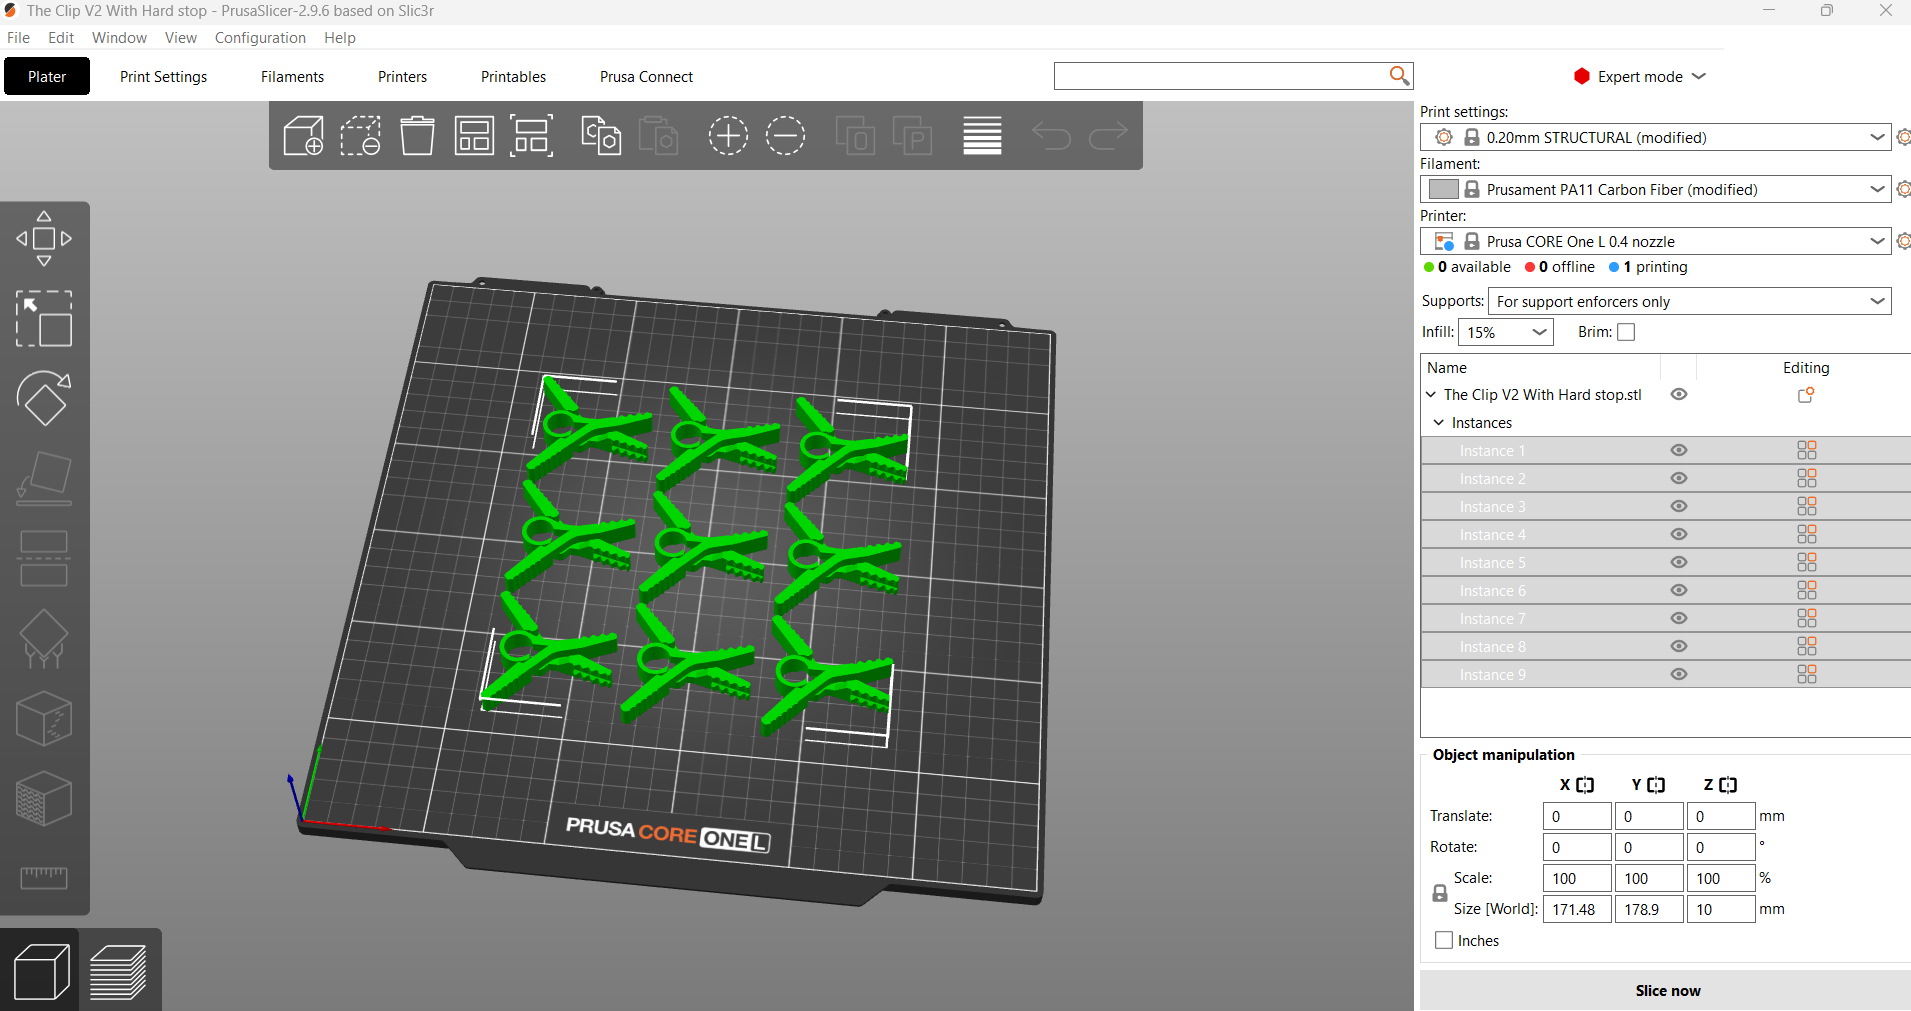
Prusa printers run on PrusaSlicer, an open-source slicer based on Slice3r that serves as the foundation for most of the other slicers out there. While the Prusa CORE One L+ can be run completely offline, PrusaSlicer can directly access Printables, Prusa’s vast and curated file-sharing service, and can directly control and upload files to the printer through Prusa Connect.
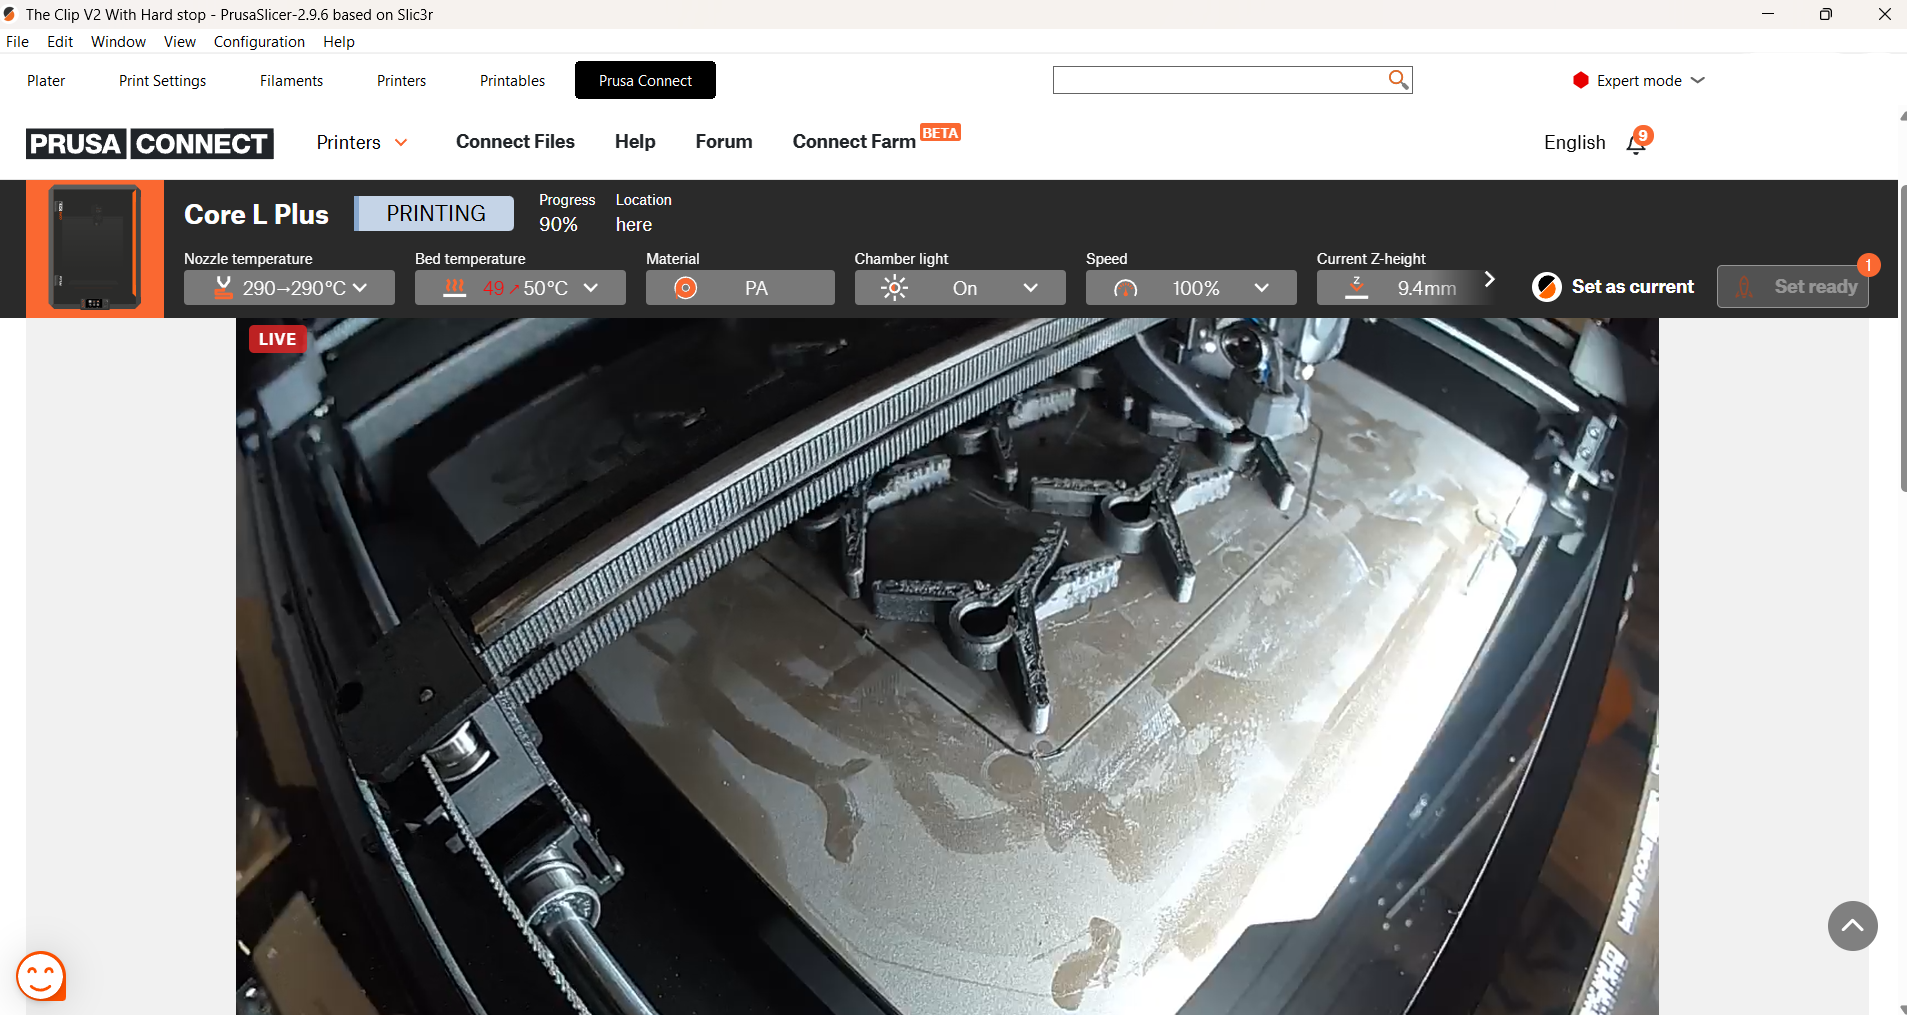
Initially, the buddy camera only produced still photos that were updated frequently, but after a firmware update (which was already present on the camera for this printer), the live video quality is excellent. Prusa has also developed its web-based EasyPrint slicer, which can be used for slicing files on mobile, and it offers a more comprehensive set of options than any other app or online slicer I’ve seen.
Printing on the Prusa CORE One L+
The CORE One L+ comes with a full 1 KG roll of Prusament PLA Galaxy Black. If you want more colors and materials like silks and multicolor filaments, you should check out our guide to the best filaments for 3D printing for suggestions.
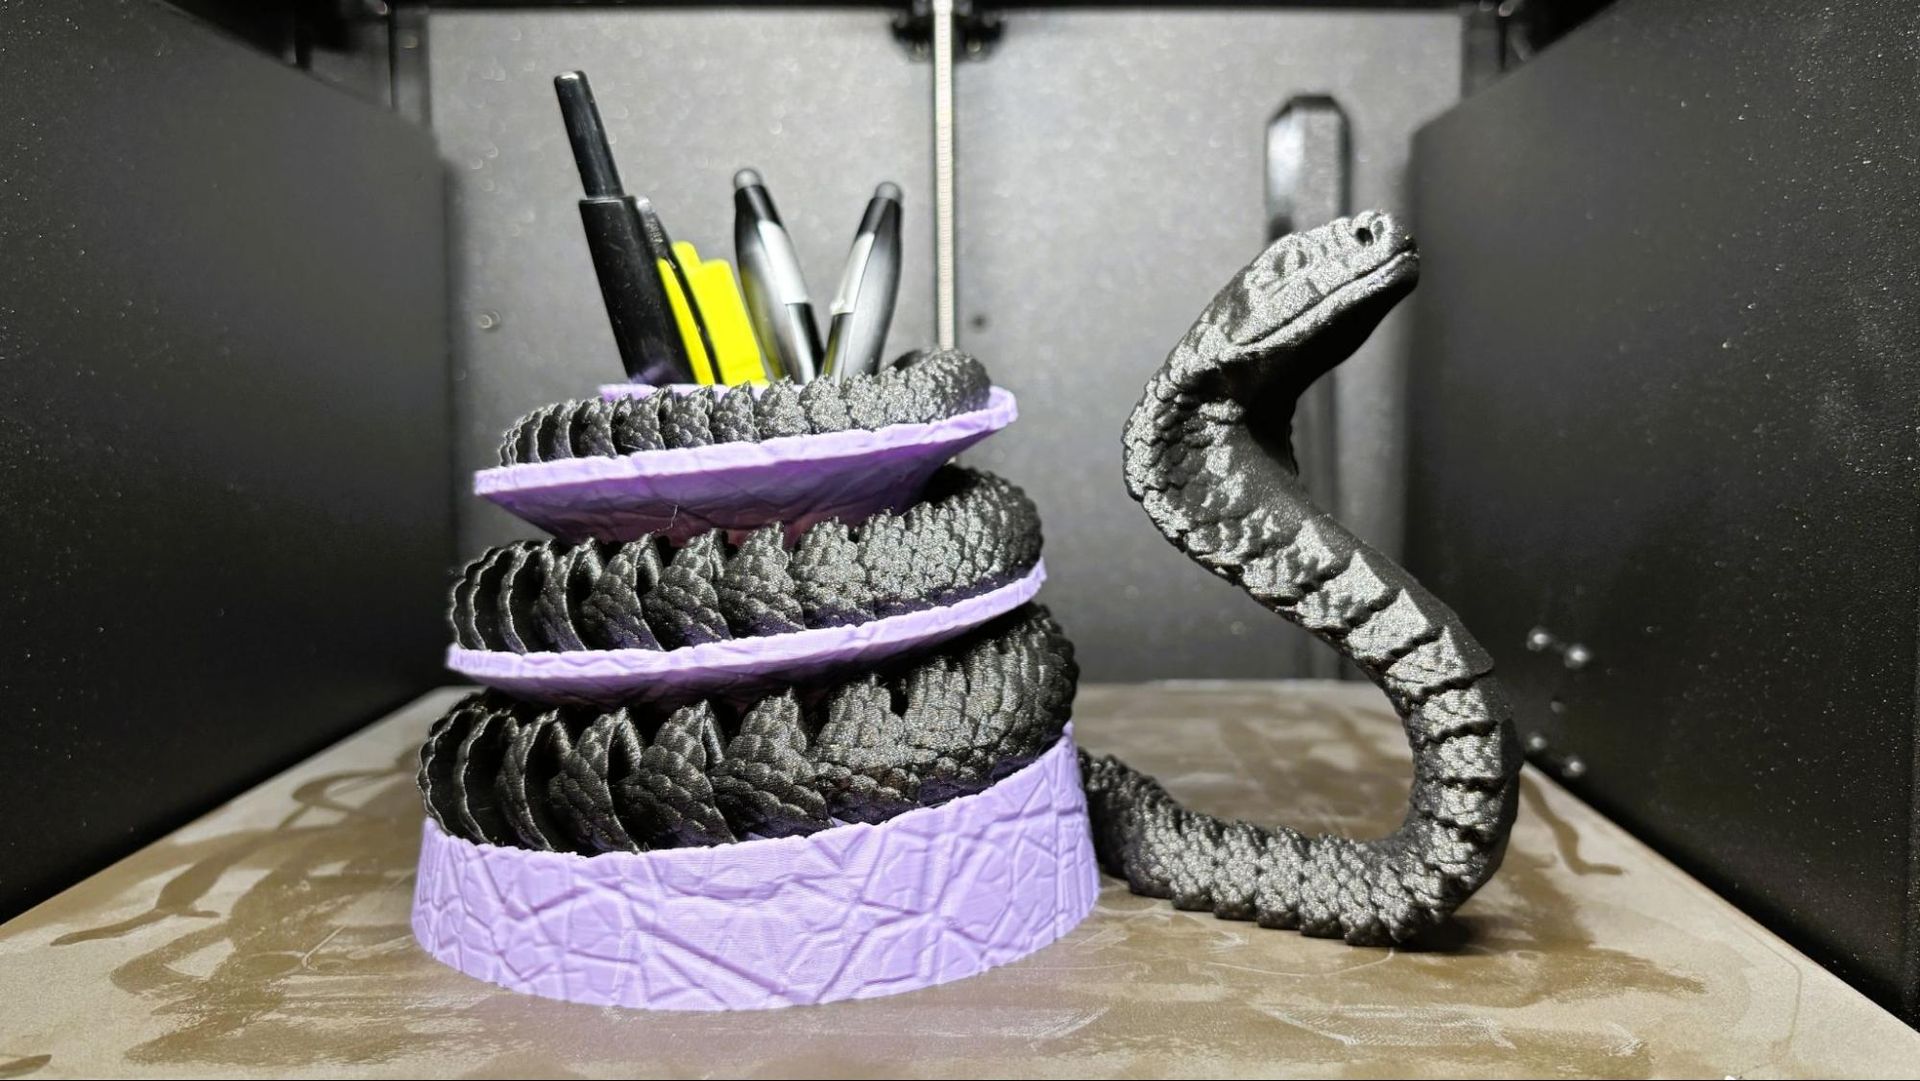
First, I printed an Articulated Cobra + Pencil Holder from McGybeer. I used the provided Galaxy Black PLA for the snake, and the pencil holder was run in Meta Taro Purple PLA from Sunlu. Both were printed with a .2 layer height with an average print speed of 100 mm/s. The pencil holder took 9 hours and 44 minutes to print, with the cobra taking 16 hours and 44 minutes. The snake is wrapped around the pencil holder when you’re not playing with it. Both look absolutely perfect.
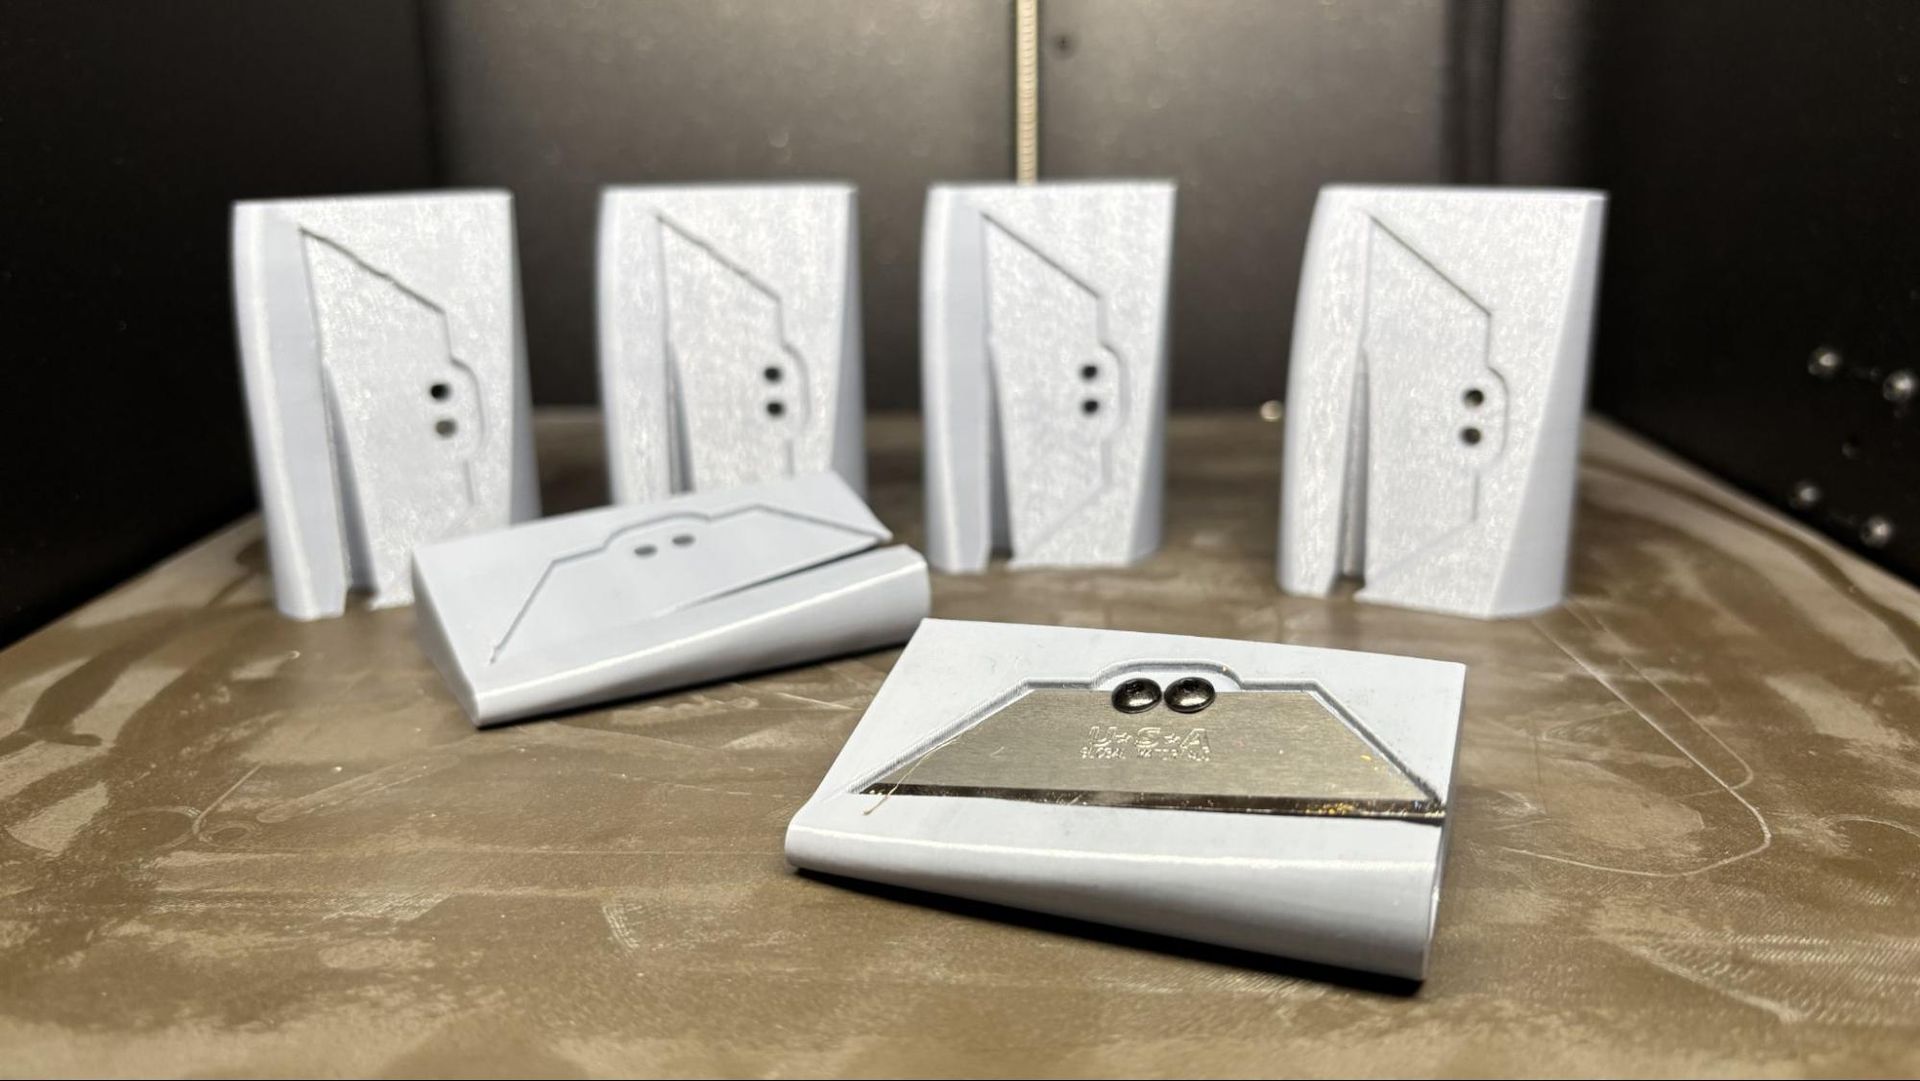
I printed a plate of carpenter pencil sharpeners from Anakel. They use a standard utility blade and work really well. Printed at a .2 layer height and an average print speed of 120 mm/s, they were completed in 3 hours and 35 minutes. They look great in grey high-speed PETG+ filament from Inland.
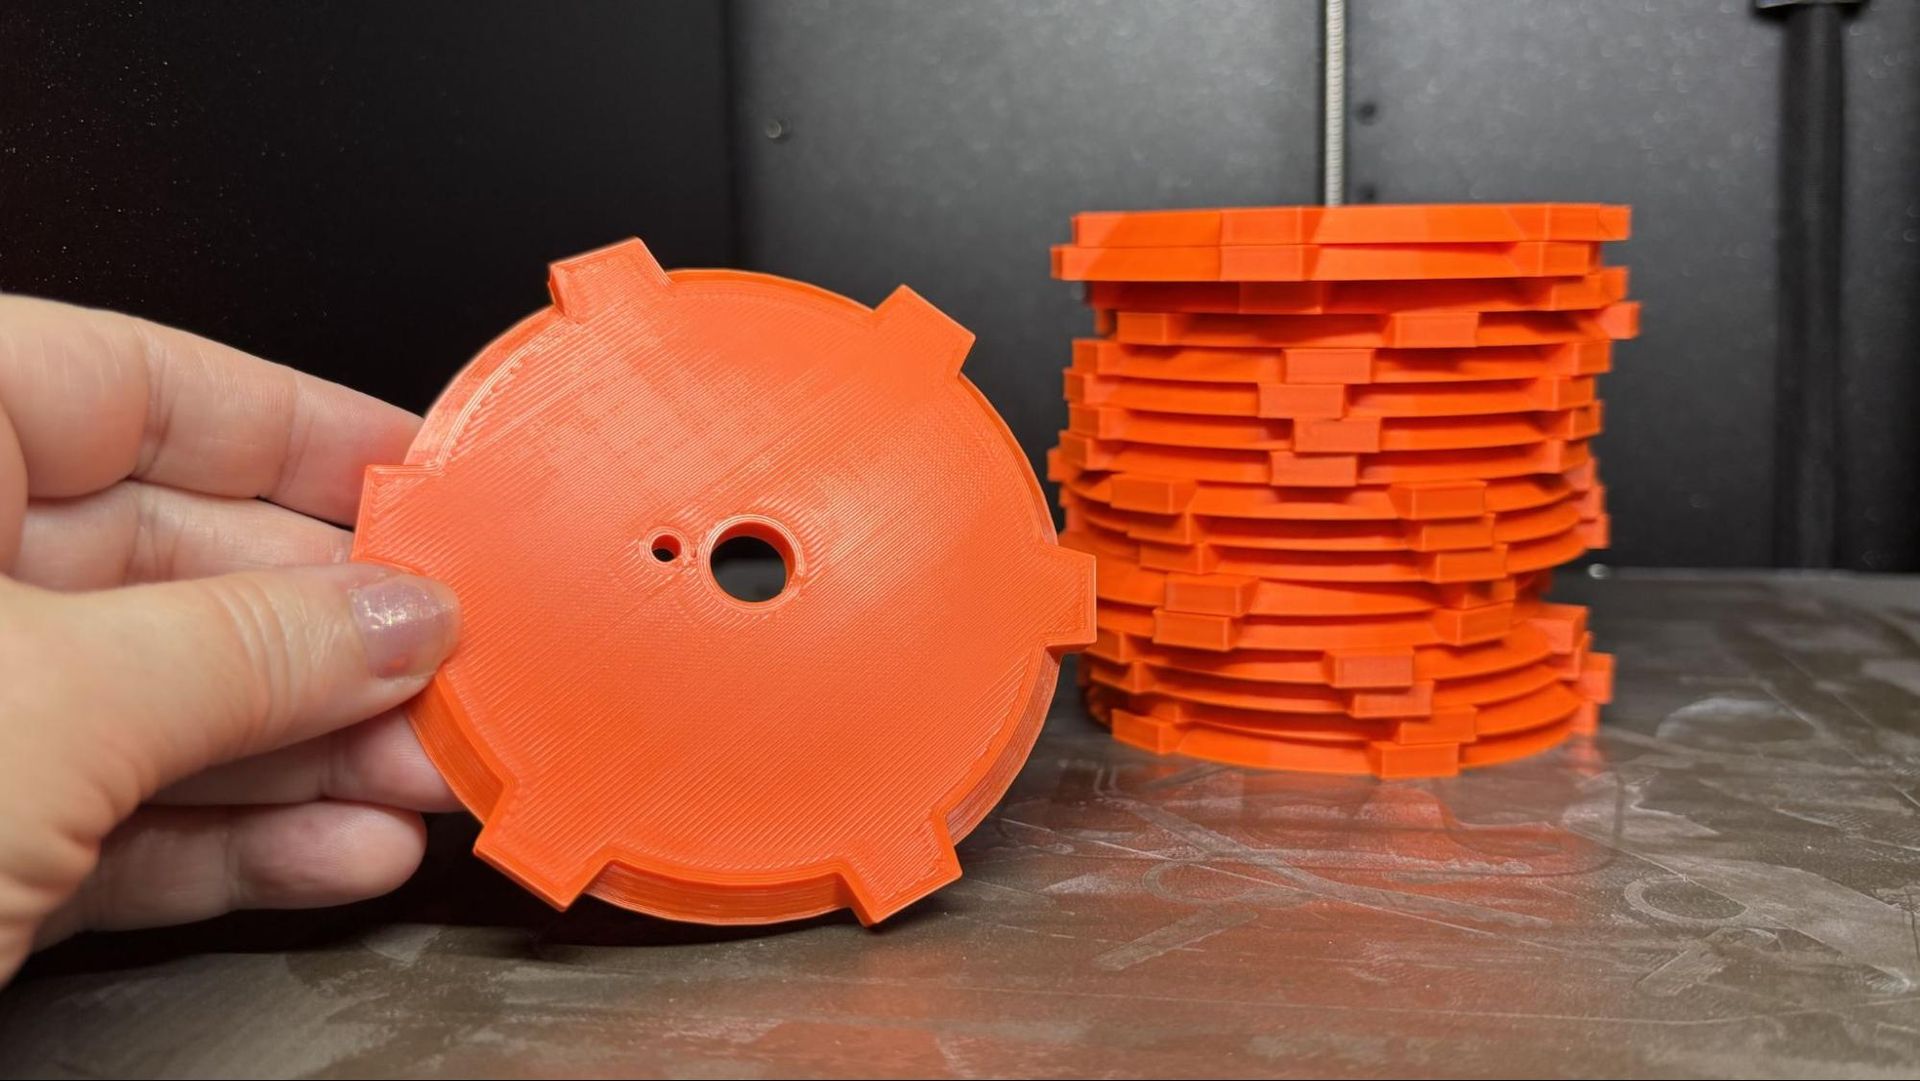
Next, I ran two plates of weapons for our battle tops, which are listed on Printables.com. Printed in Prusa Orange ASA with a .2 mm layer height and running at an average of 120 mm/s, the plates took a little over 5 hours each. They are printed solid with a bit of overextrusion to lock everything together and look really good, if I do say so myself. The bed leveling and adhesion were perfect out to the edges of the build plate.
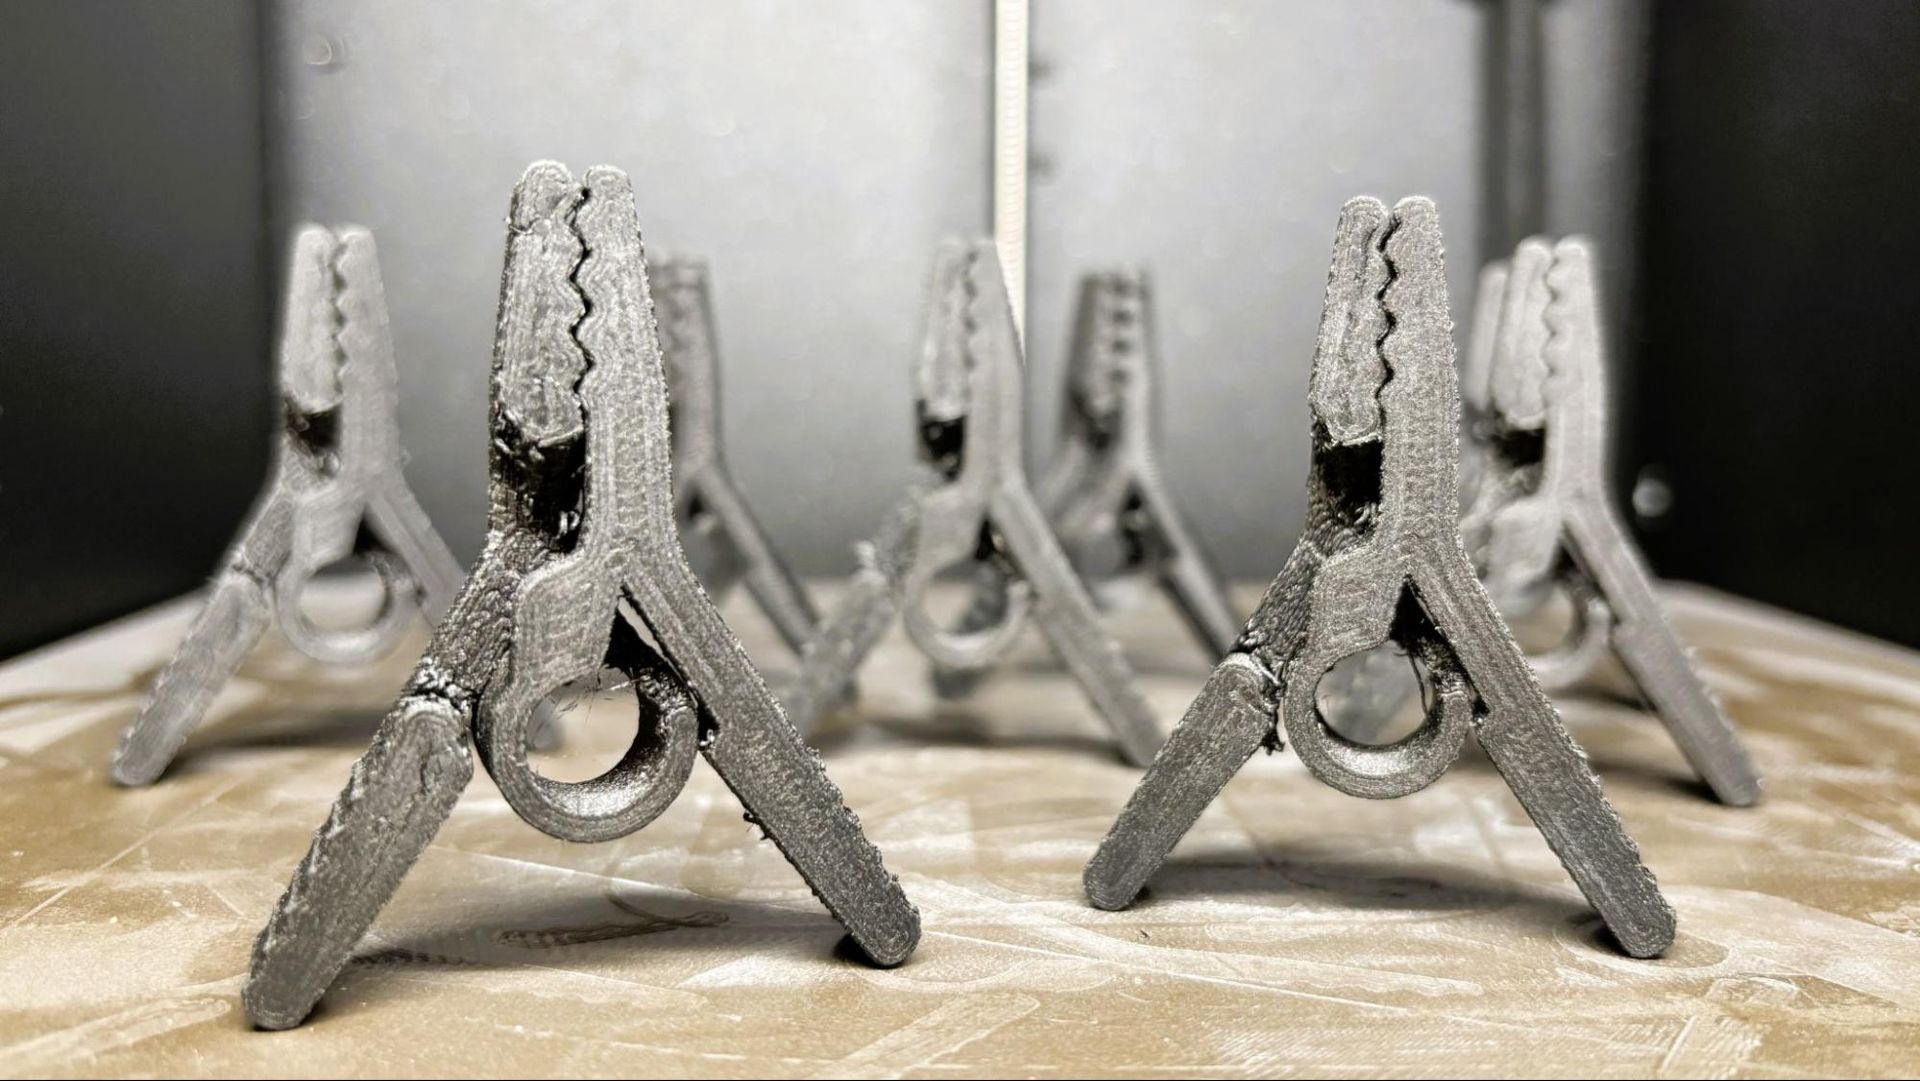
To test the Prusa CORE One L+ on a more technical filament, I printed a plate of clips from Afrie using PA6-CF20 from Polymaker. This is not the easiest filament to print, and one that I normally run at 300C, which is hotter than the CORE One L+ can go. Using a .2mm layer height and an average speed of 50 mm/s, the clips took almost four hours to print. The parts are print-in-place, and there is some roughness on the unsupported overhangs, but for PA6-CF they still look fantastic. After a few hours of annealing, they are in use all over my house at this point.
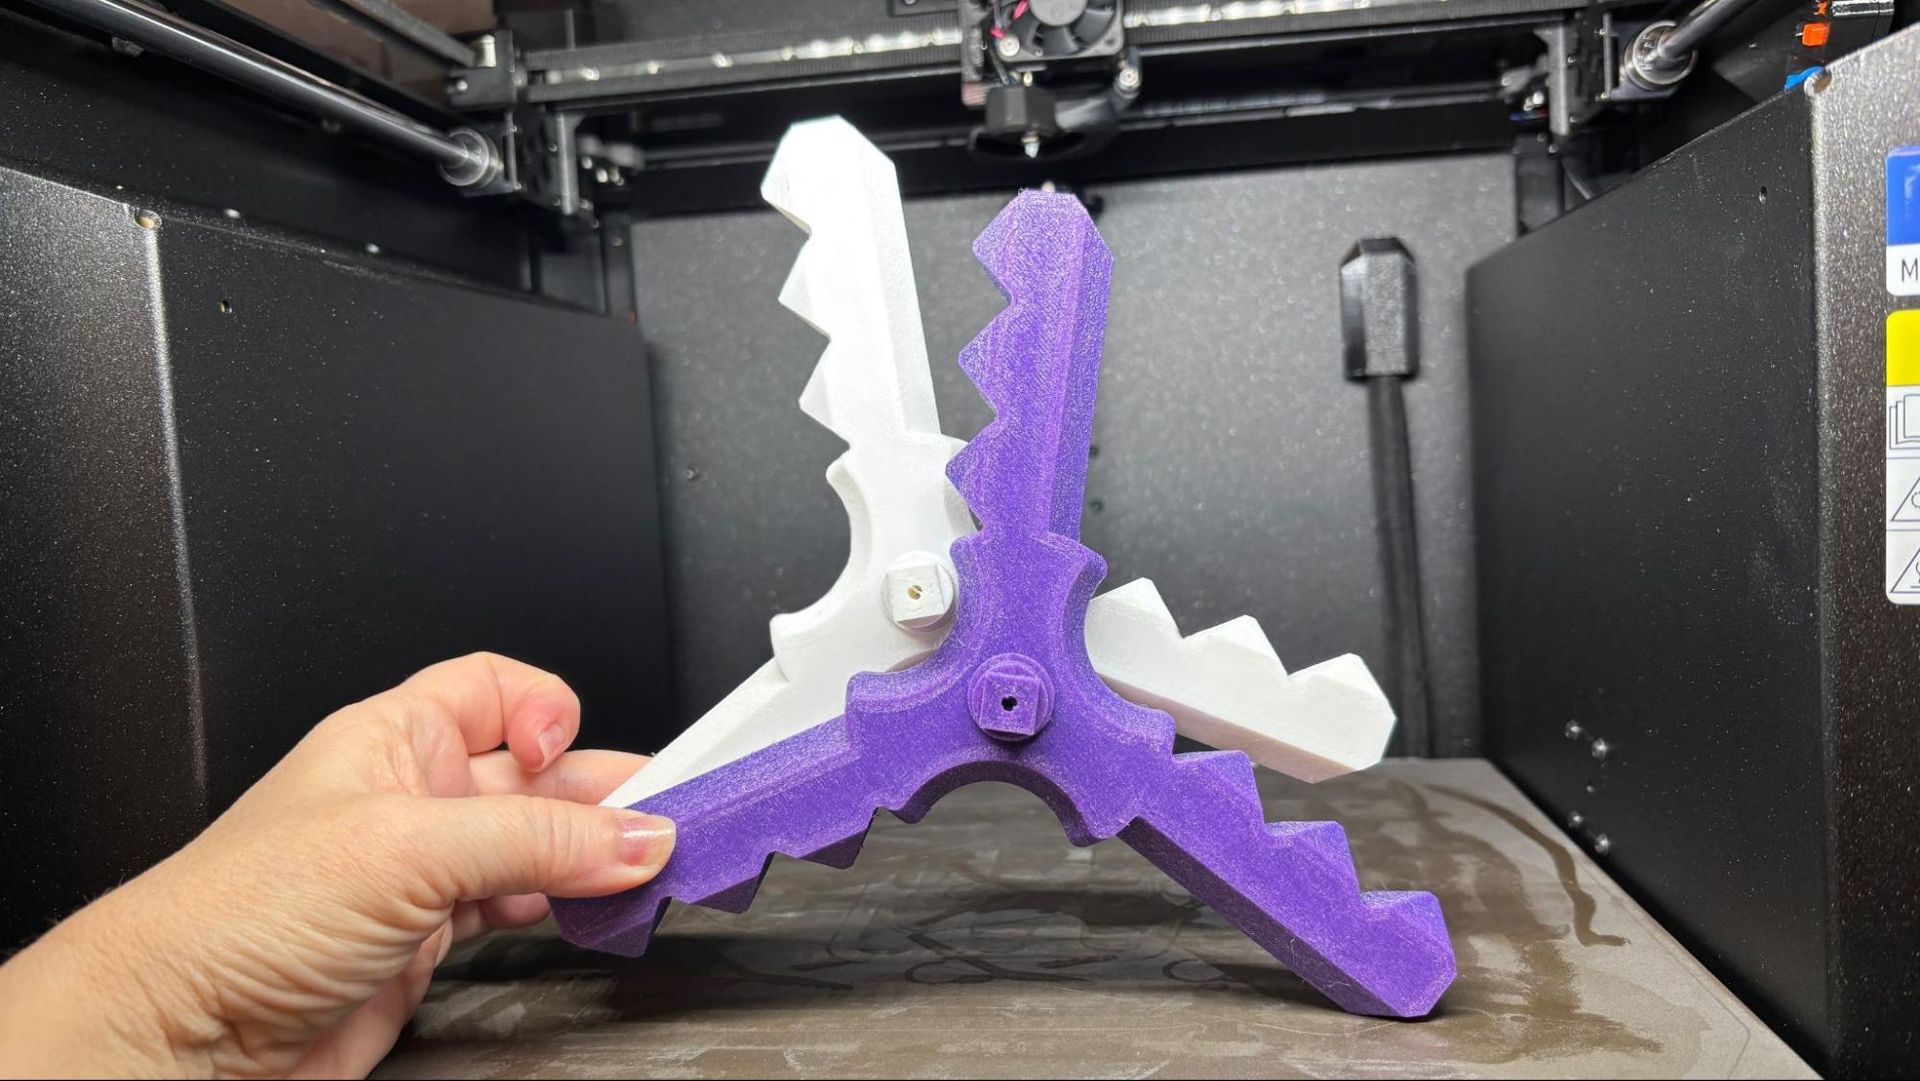
TPU is easier to print on the CORE One L+ than on many printers on the market today. I printed weapons for our DeathRacer combat robots using Cookiecad Witches Blue 95A TPU and white Polymaker Polyflex TPU 90A. With a .2mm layer height and an average print speed of 35 mm/s, these blades took a little over 6 hours each and look great with just a tiny amount of stringing.
Bottom Line
The CORE One L+ is a fast, quiet, easy to set up printer that is a joy to use. If it could get a little hotter on the nozzle without an upgrade, it would be nearly perfect for a wider range of practical filaments.
With a retail price of $1,999, the CORE One L+ is a significant investment when compared to the more budget-friendly Core XY machines from other brands. However, the legendary 24 hour 7 days a week, English speaking customer service and rabid fan base willing to share tips and tricks are a huge perk. So is the knowledge that when you buy a Prusa today, you’ll still be running it in 10 years or more because it is infinitely repairable and moddable.
If a Prusa CORE One L seems just a bit too spendy for your budget, the smaller Prusa CORE One comes in at $999 for a kit. The slightly more budget-friendly, but equally sized Bambu Lab H2S Combo is currently on sale for $1,399, and if you need some massive CORE XY size, the Creality K2 Plus is worth checking out at $1,199.